
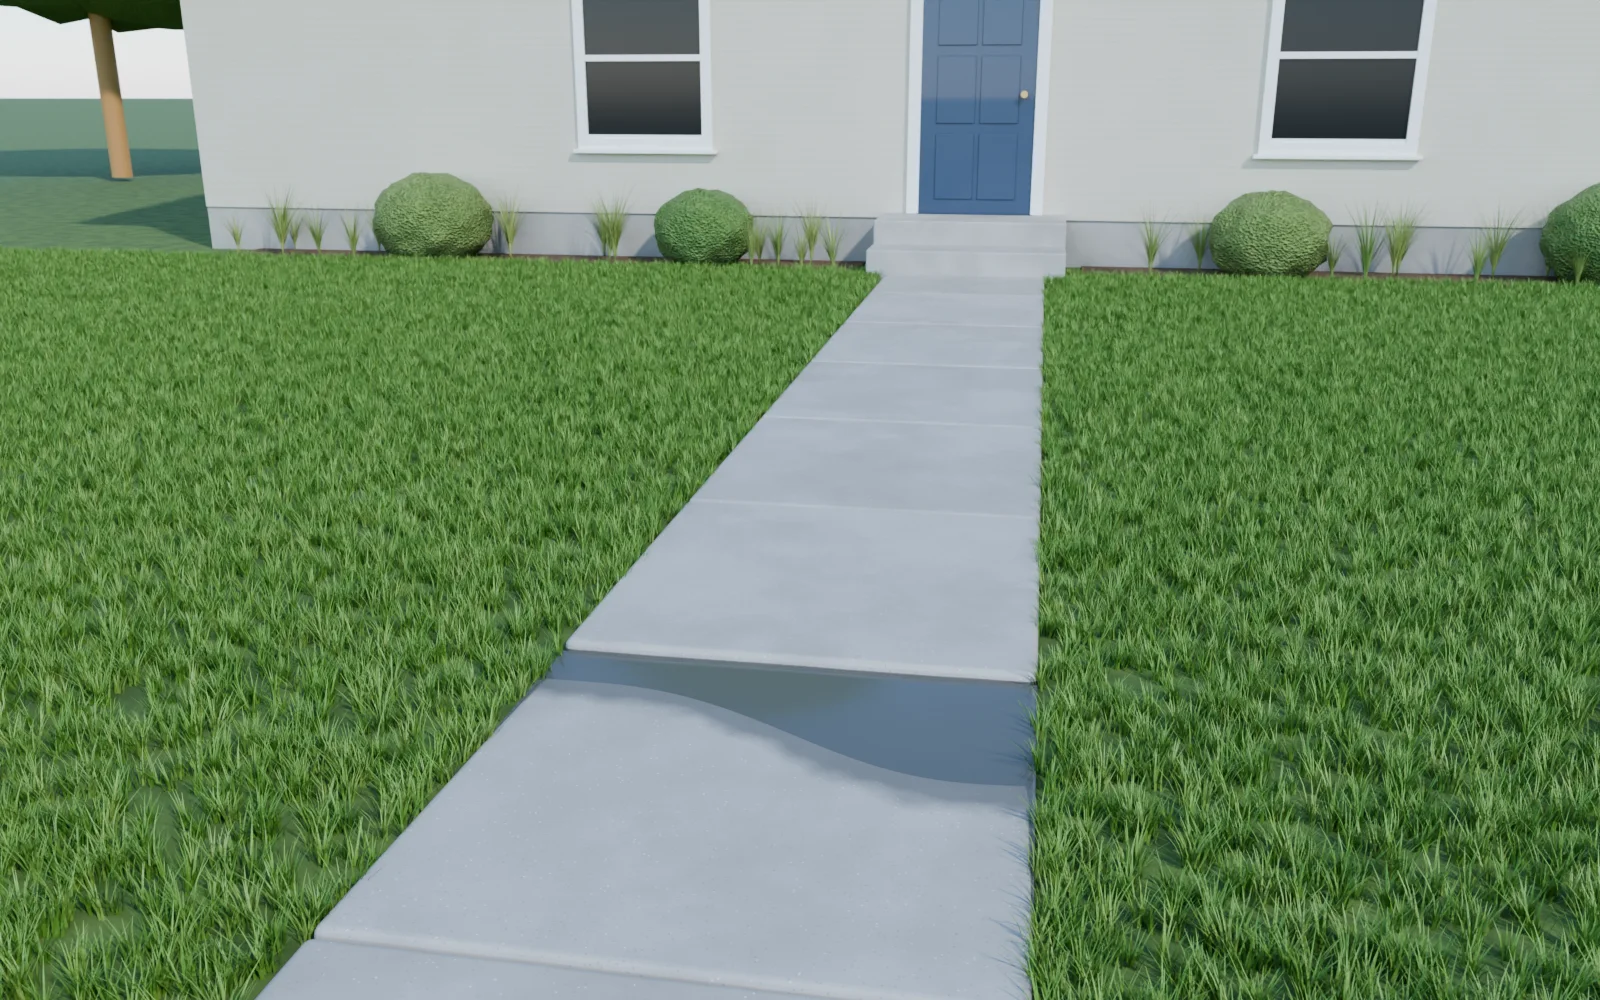
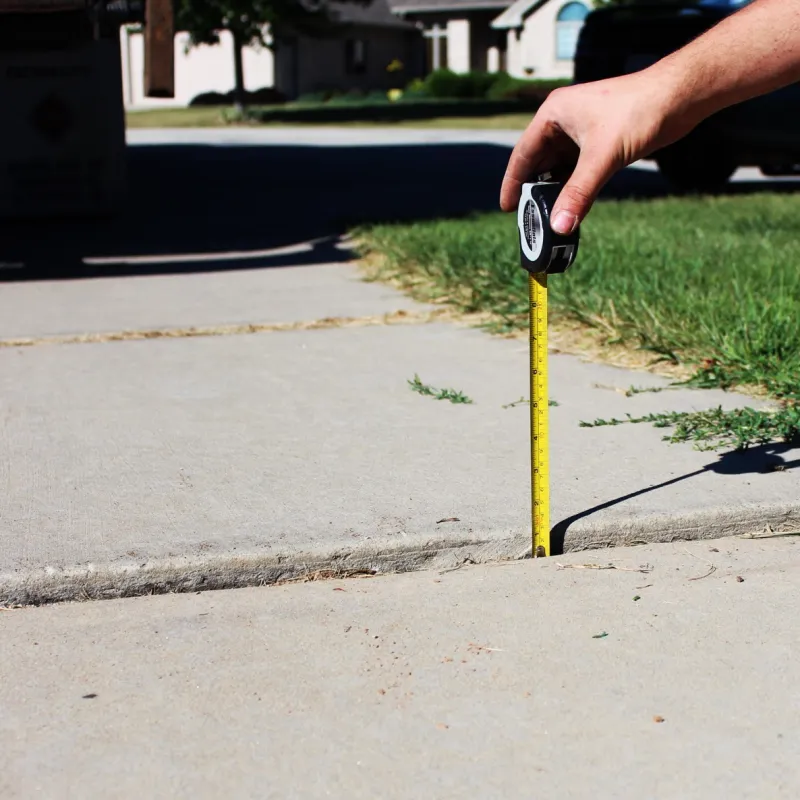
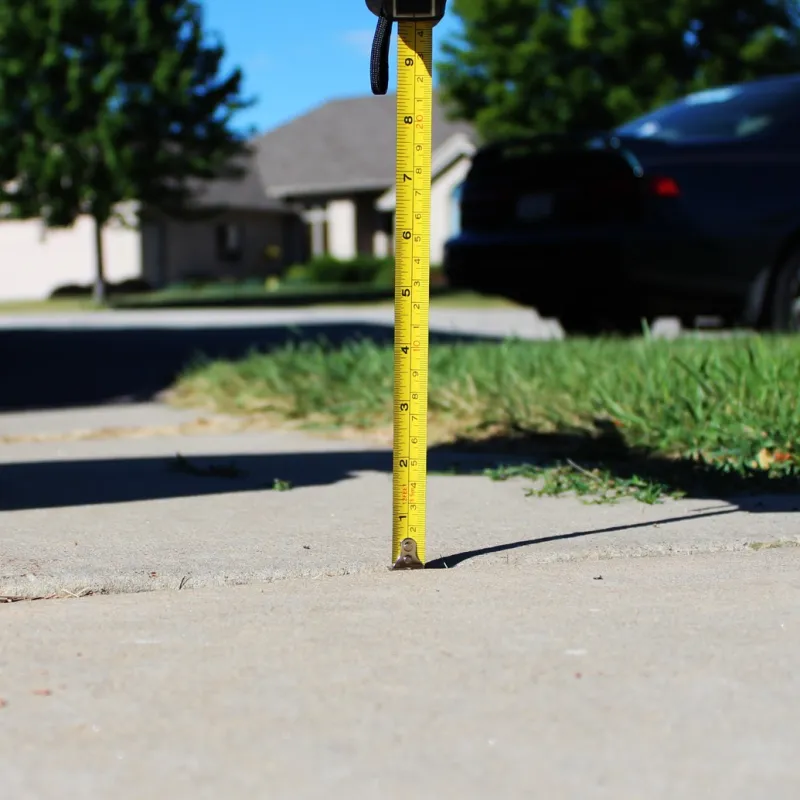
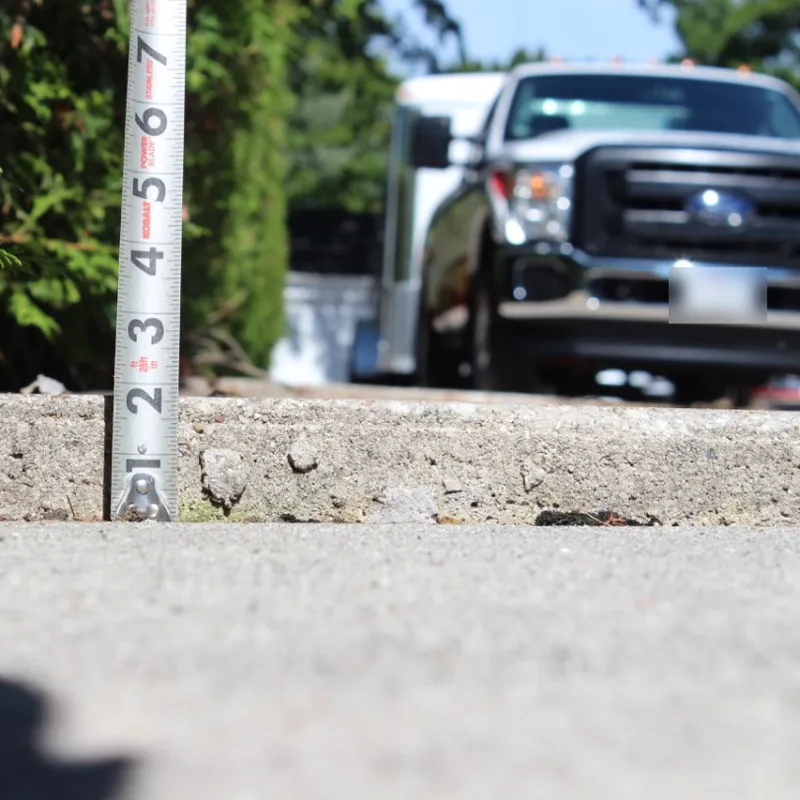
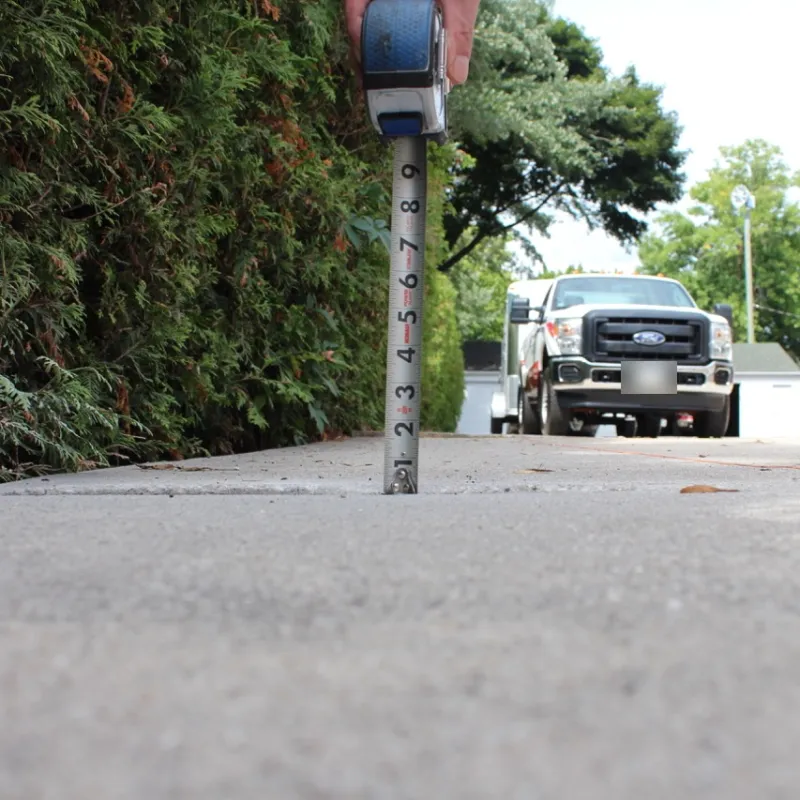
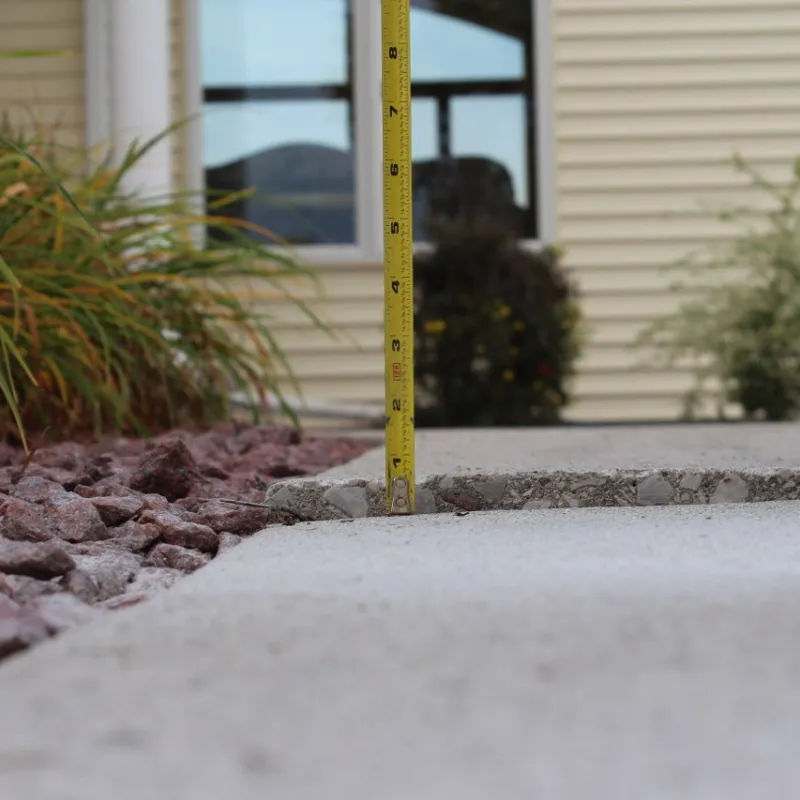
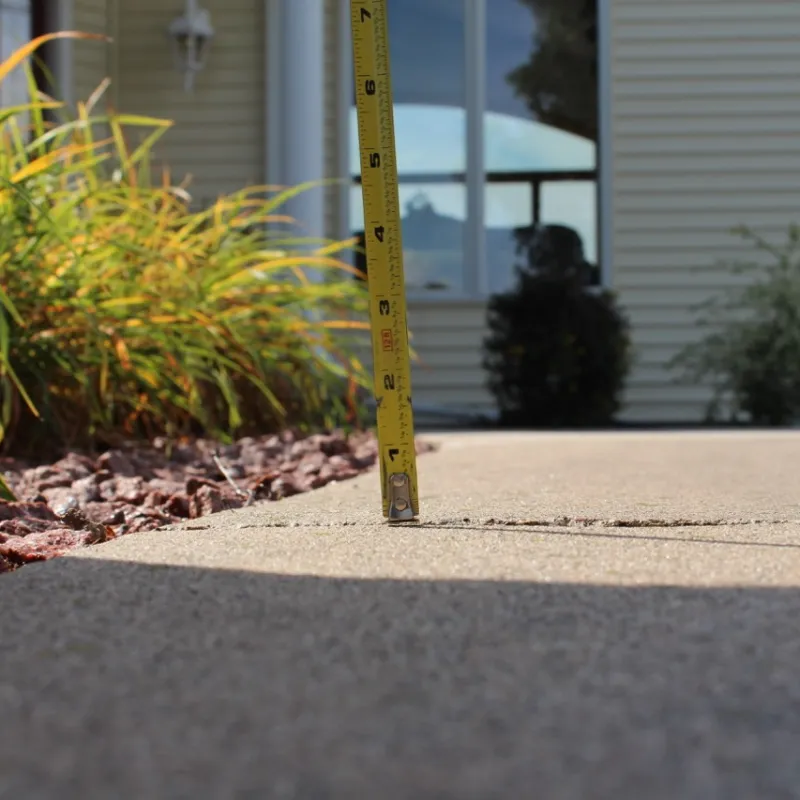
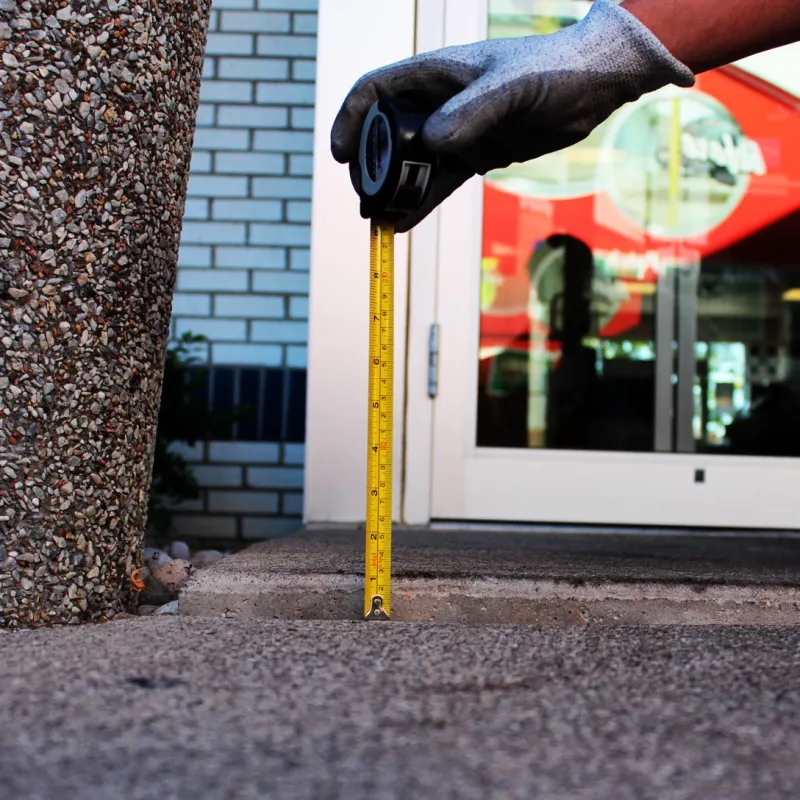
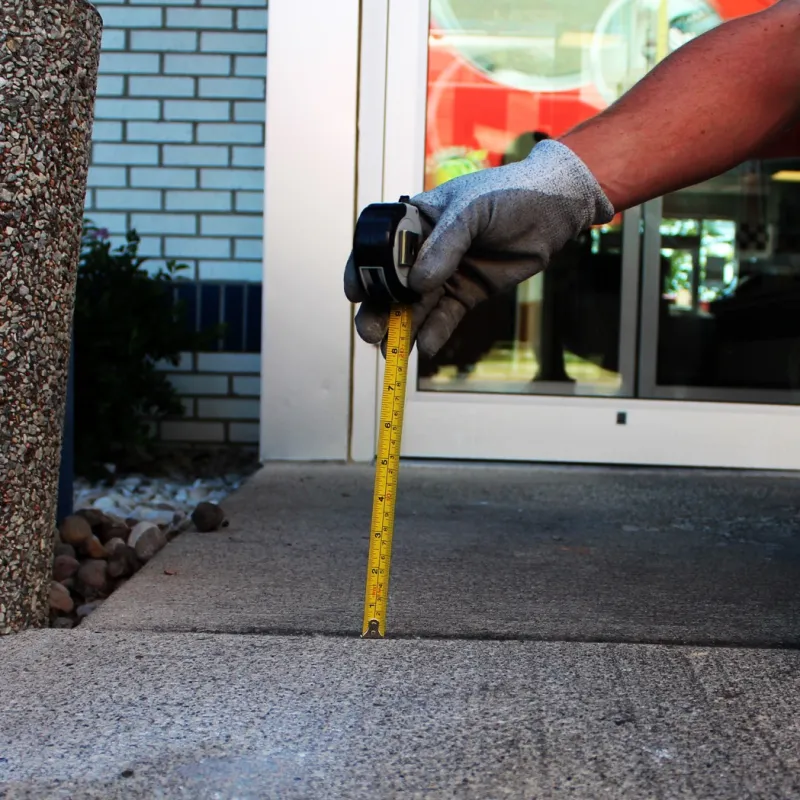
Example lifts. Photos from our own local jobs get added as we finish them.
Walkway lifting at a glance
Signs your walk needs lifting
- One square sits higher than the next, leaving a lip at the joint.
- Cracks at the joints or corners, often with one side lower than the other.
- A square that holds water after rain, or grows the same patch of ice every winter.
- Gaps opening between squares, or the walk pulling away from the steps or the house.
- Strollers, wheelchairs and snow shovels catching at a joint.
- A square that rocks or sounds hollow underfoot.
How to measure a sidewalk trip hazard
- 1Bridge the jointLay a straight board or a level on the higher square so it hangs over the lower one. Measure from the underside of the board straight down to the low square.
- 2Measure both sides of the walkEqual numbers mean the square dropped evenly. Different numbers mean it tipped, usually toward the side where the soil washed out.
- 3Sight down the whole runStand back and look along the walk. The square that's out of line with the rest is the one that moved. Below the line, it sank. Above the line, something pushed it up.
- 4Check the edgesGaps or washed-out soil along the side of a square mean its base is leaving. A hump or a crack running over a root means heave.
How tall is too tall? Your own front walk isn't held to the ADA standards, but they're the best yardstick there is: up to ¼ inch can stay a vertical edge, ¼ to ½ inch gets beveled, and anything over ½ inch is treated as a ramp. Past half an inch, someone will catch a toe. If the city sent a notice, go by the numbers on it.
Trip hazards are a lift, not a replacement
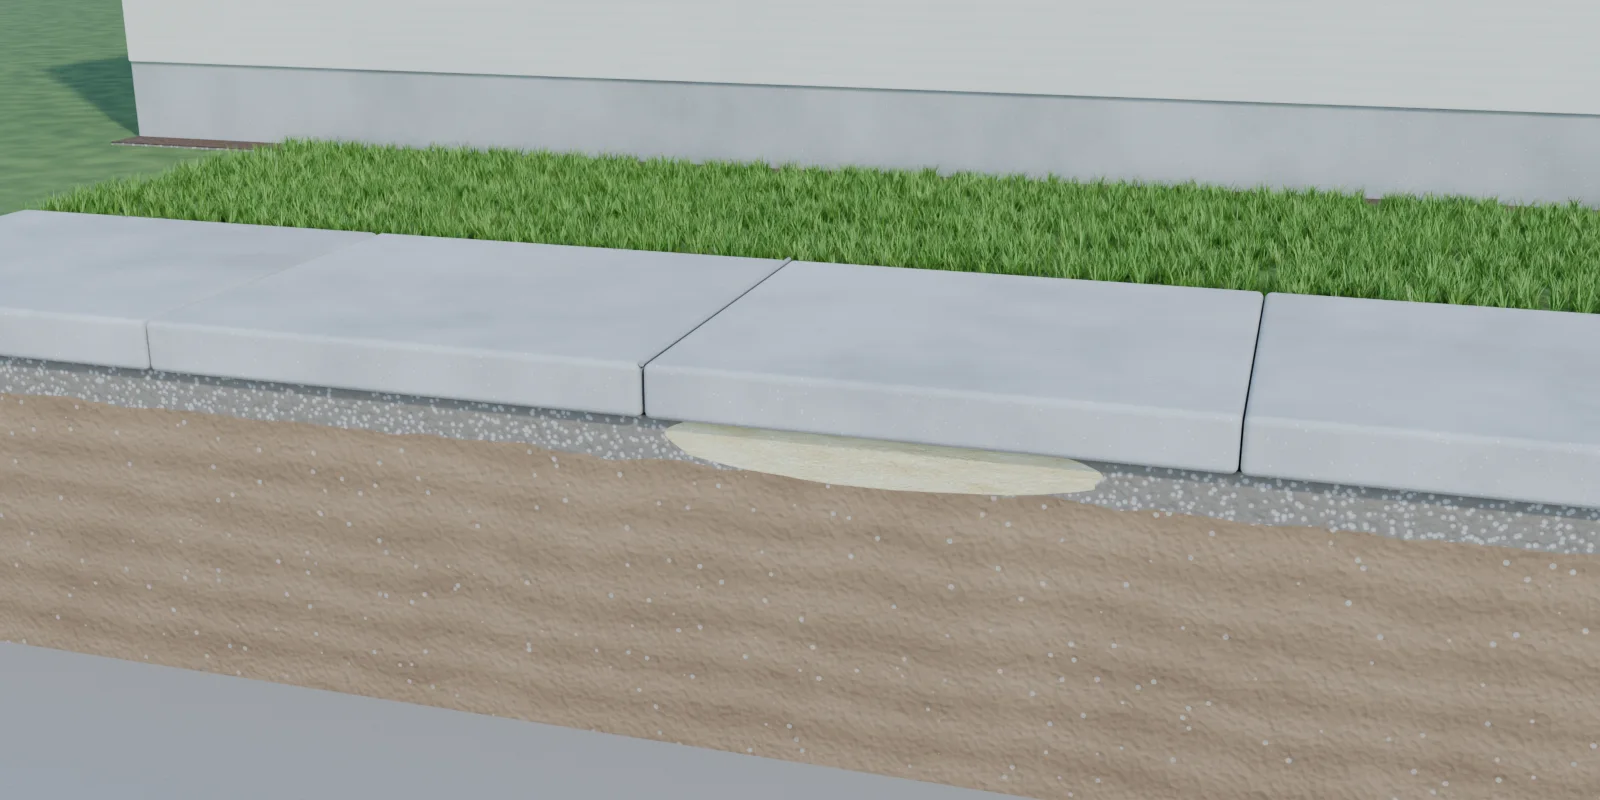
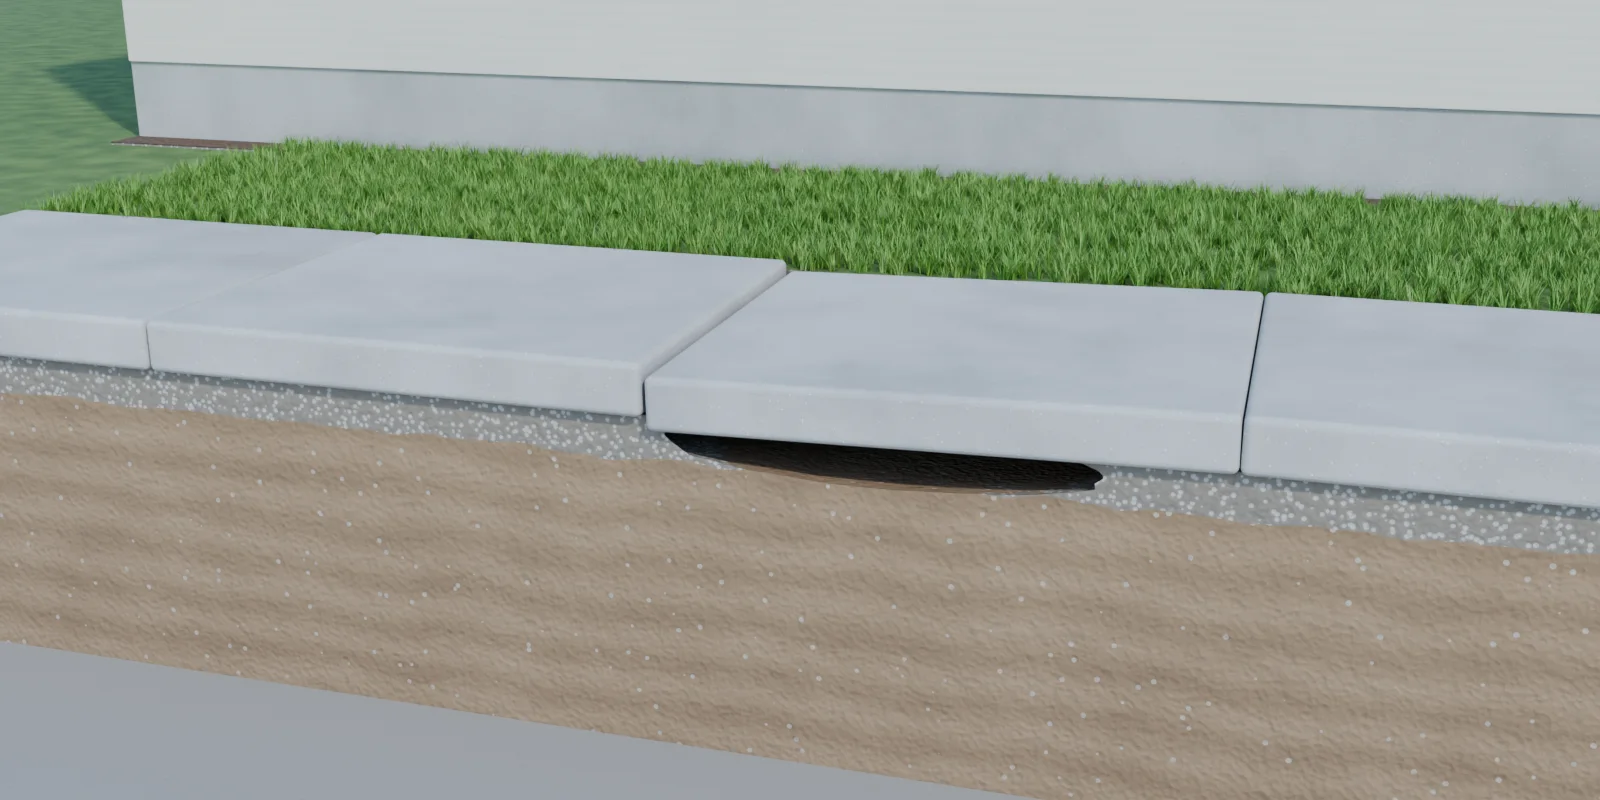
Most uneven walks are a section that dropped at a joint. The concrete is fine; the soil under it washed out. Sidewalk lifting brings the low side back up so the joint is flush again. Sidewalk raising, sidewalk mudjacking, uneven sidewalk repair: it's the same job, and we do it with foam.
For businesses and HOAs, uneven walks are a liability issue. Under the 2010 ADA Standards, a change in level over 1/4 inch on an accessible route needs a bevel, and over 1/2 inch needs a ramp. Lifting removes the lip instead of working around it. See commercial concrete leveling.
Why sidewalk sections sink
Lift, grind, patch or replace a sidewalk square?
Grinding shaves a small lip down and can be the right answer for a slab that heaved up slightly. When a section has sunk, grinding the high side just leaves a low slab that holds water. Lifting fixes the cause.
| Fix | Best for | The catch |
|---|---|---|
| Patch a ramp over the lip | A temporary fix until the real one | Thin edges chip and pop loose with freeze-thaw and snow shovels |
| Grind the high edge | Small lips, roughly an inch or less, on squares that are done moving | Leaves a visible ground strip, thins the edge, and the lip returns if the square keeps sinking |
| Lift the low square with foam | Squares that sank and are mostly in one piece | Can't lower a square that was pushed up |
| Replace the square | Broken, crumbling or badly heaved squares | Saw cutting, tear-out, forms and days of curing, and a new square on the same base can settle again |
When a tree root pushed the sidewalk up
No lifting method pushes concrete down. If a root humped a square up, the choices are grinding a small lip, replacing the square, or lifting the squares on either side so the sharp edge becomes a gentle slope. Blending works on walks because the goal is no trip edge, and a slight hump is fine underfoot. It stops working once a square has been shoved up several inches or snapped in half. If the tree is a city tree in the terrace, ask the city first, since some communities handle those differently. More in tree roots lifting concrete.
How we fix a trip hazard, step by step
3D renders with the ground cut away, simplified to fewer holes than a real job. Most residential jobs take a few hours, and you can walk on the slab when we pack up.
Why lift instead of replacing the section?
A replaced sidewalk section has to be barricaded while it cures, and new concrete next to old rarely matches. A lifted walk is open the moment we pack up, which matters for a storefront or an HOA entrance.
Replacement timing is typical; a contractor's schedule and the weather can stretch it. New-concrete cure times from Concrete Network.
Got a sidewalk notice from the city?
Some cities inspect public sidewalks and send the owner a notice when a lip passes their limit. If the section sank and is still in one piece, lifting it flush is usually the cheapest way to clear the notice; your letter or the public works office will say what they require. We photograph and measure every joint before and after, so you have a record to send back.
Rules differ from one community to the next. The owner can be responsible for the walk in front of the property, and work on a public walk can need a permit. Before anyone touches a public sidewalk, ask your city or village:
- Who is responsible for the walk in front of your house.
- Whether the work needs a permit.
- Which repair methods they accept for the squares they marked.
What sidewalk leveling costs
Walks are priced by the square and the drop, with a job minimum. One square costs about the same as two, so fix every low joint in one visit. See the leveling cost guide.
| Sidewalk job | Typical price |
|---|---|
| One sunken square | $300–$600 |
| Front walk, three to five squares (50–125 sq ft) | $300–$1,250 |
| Job minimum | $300 |
| Sealing the joints after the lift | $5–$10 per foot |
Pick the job that looks like yours.
We price by the foam the job takes, $4–$10 per sq ft on average with a $300 minimum. Add the size and how far it dropped for a closer number; your photos make it a firm price.
Pick a job or enter a size and the range appears here.
What moves it: how far it dropped, how many sections, what the slab is sitting on, and how close we can park. The cost guide explains each.
Get the firm number
Leave your name and mobile. We text you within 24 hours, and three photos make it a firm price, no site visit for most jobs.
After a sidewalk lift: backfill the edges and seal the joints
Level walk squares, sealed joints, and a few dime-sized gray patches where the foam went in. The patches are close to concrete color and fade into older slabs within a season. We text you before-and-after photos before we leave.
Keeping it level means keeping water out from under it. Three things do most of the work: keep the joints and cracks sealed, backfill soil against any slab edge the lift left exposed, and keep downspouts discharging away from the concrete. Sealing is its own line on your quote; the rest is in what to do after your concrete is lifted.
- Backfill the edges. A square raised an inch or two stands a little above the lawn beside it. Pack topsoil against the edge and get grass growing so water runs off instead of in along the side.
- Caulk between the squares. Every open joint is a funnel for April snowmelt. Backer rod and flexible sealant keep water, sand and weeds out.
- Send roof and sump water somewhere else. Most sunken squares trace back to water, so extend the downspout or sump line that lets out beside the walk.