
Signs a slab has sunk
- A lip at a joint or crack, with one side lower than the other.
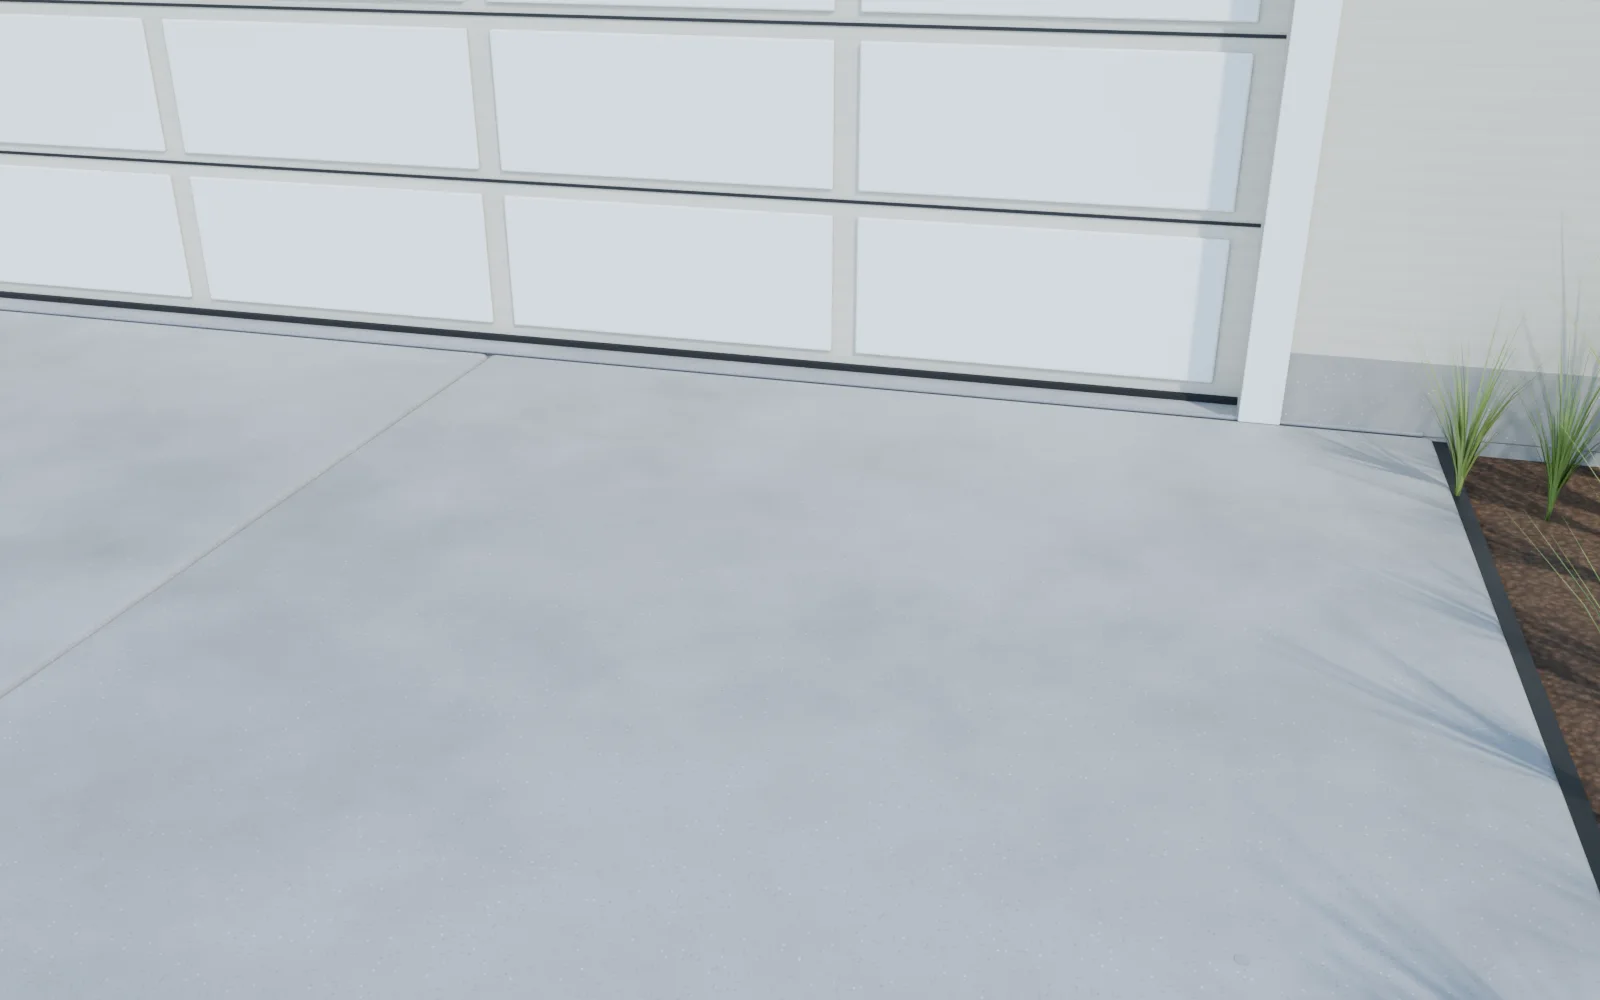
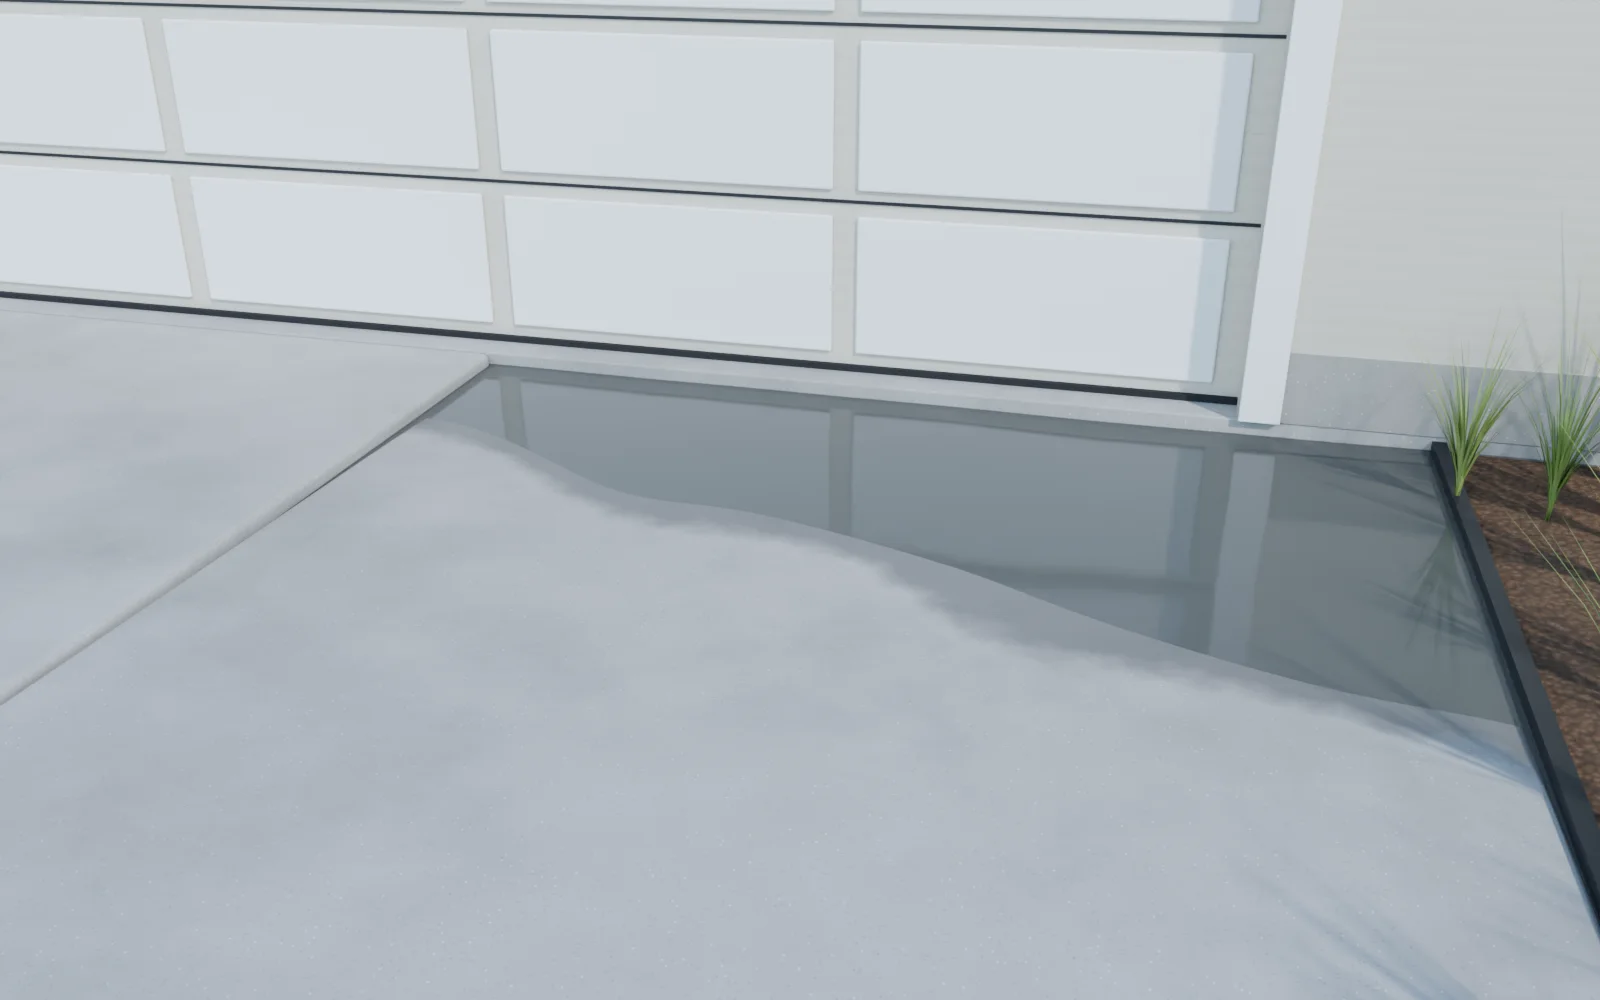
- Water that pools on the slab after rain, or runs toward the house or garage instead of away.
- A gap under the edge of a slab, under the steps, or between a slab and the house wall.
- A patio, stoop or porch tilting toward the foundation or pulling away from it.
- A drop where the driveway meets the garage floor, the sidewalk or the street.
- A section that rocks, or sounds hollow when you walk or drive over it.
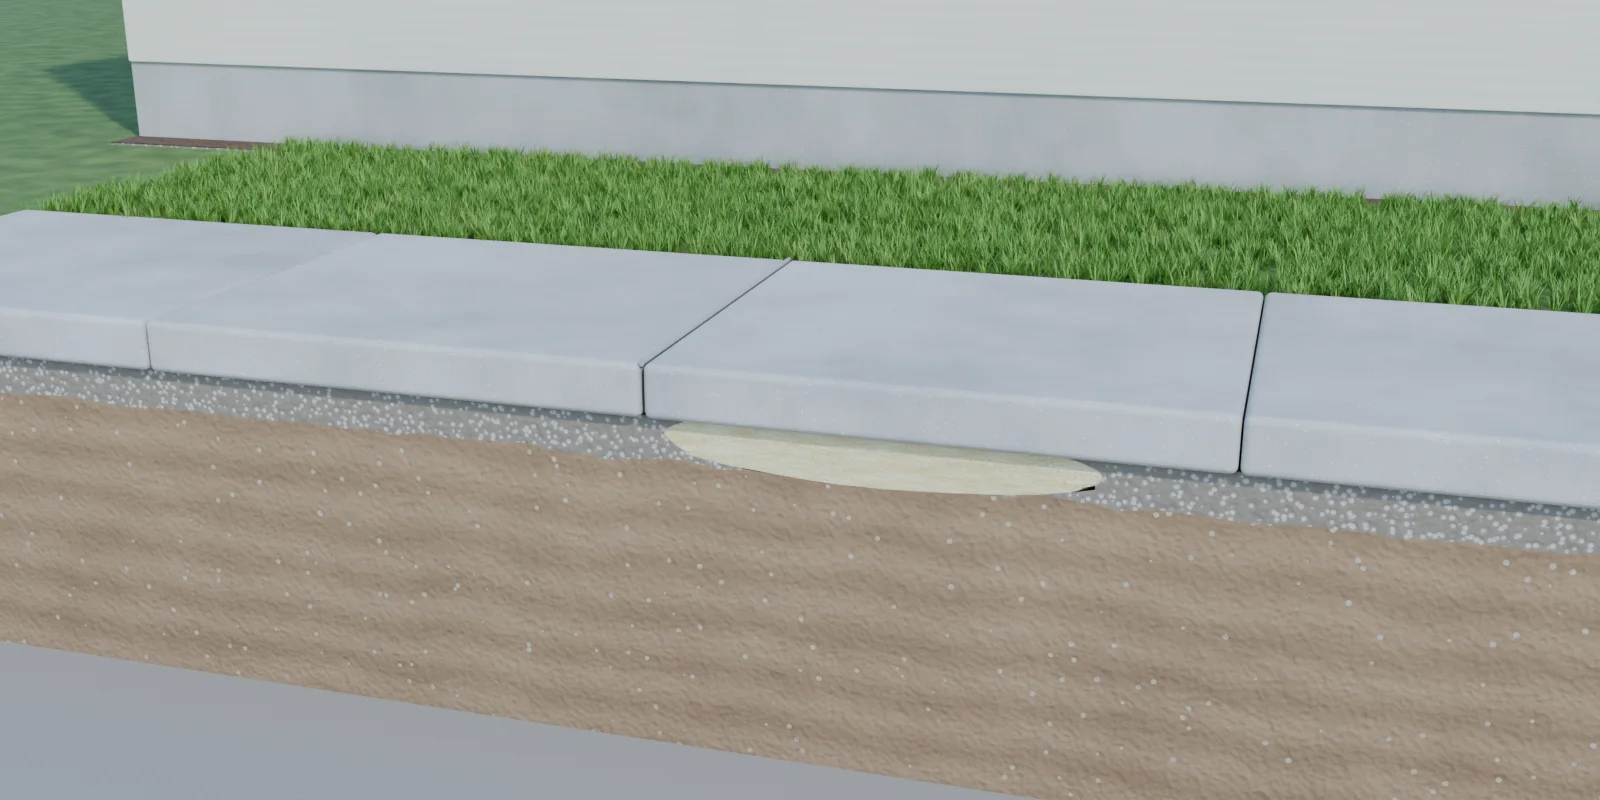
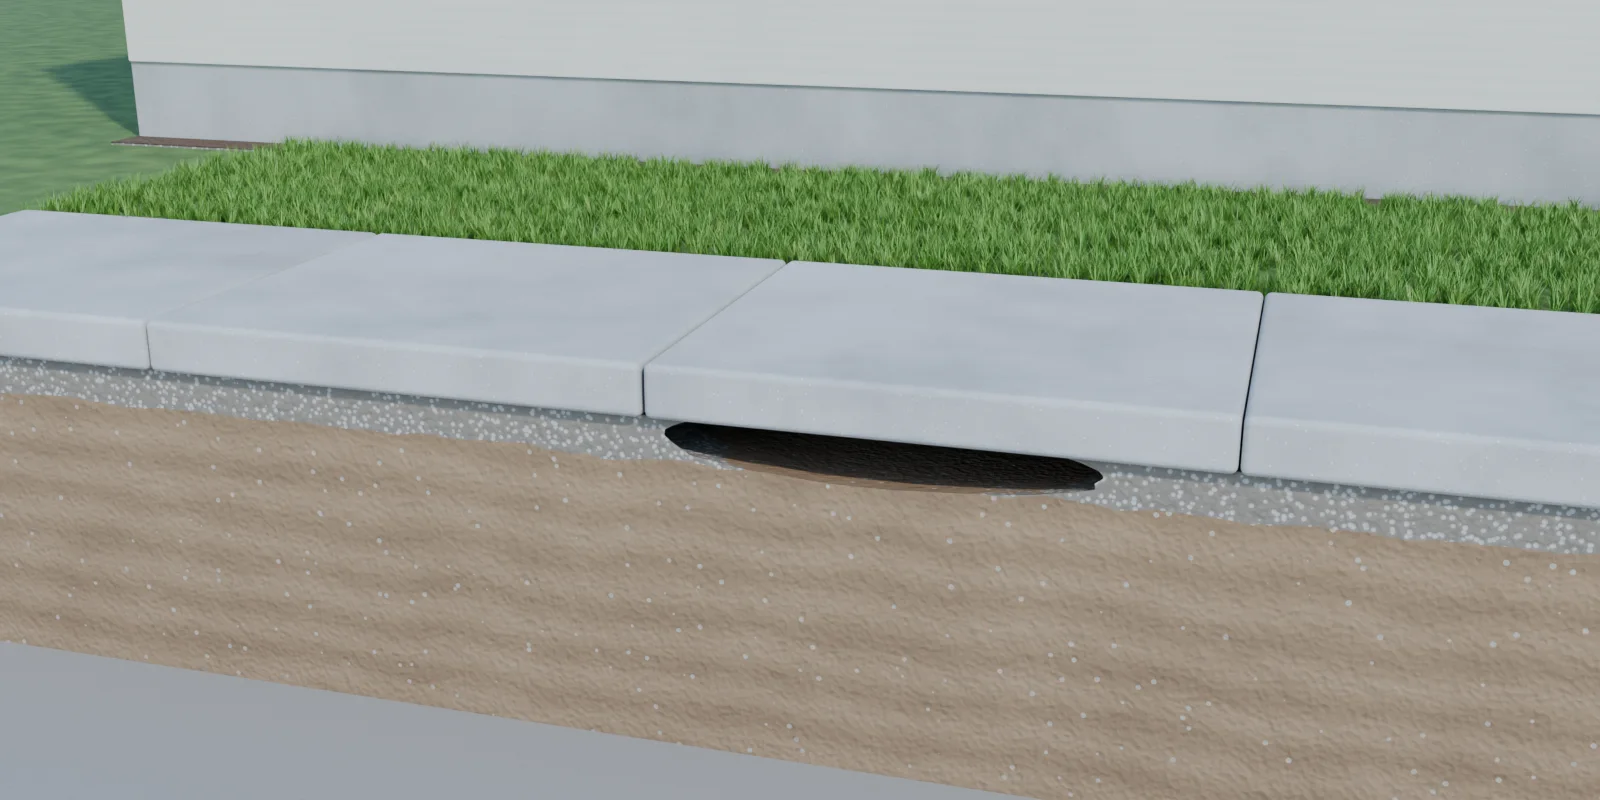
Can my concrete be lifted?
If the slab is mostly in one piece and it sank, it's almost always a candidate. Five quick questions:
Why lift instead of replace?
Tearing out a sunken slab throws away concrete that is usually still solid, puts heavy new concrete back on the same soil that let the old one down, and takes your driveway or walk out of service for about a week. Lifting keeps the concrete you have and fixes what's under it.
| Lift with foam | Tear out and replace | |
|---|---|---|
| Time | One visit, usually a few hours | Several days of work, then about a week before you can drive on it |
| Mess | 5/8″ holes, patched | Jackhammers, dump trucks, forms, torn-up lawn edges |
| Weight added | Foam weighs 2–5 lb per cubic foot | New concrete weighs about 145 lb per cubic foot, on the same soil |
| Waste | Nothing hauled away | A 10×10 slab, 4″ thick, is about 2½ tons of broken concrete |
| Looks | Your concrete, back where it was | New concrete rarely matches the old slabs next to it |
| The cause | Foam fills the voids; we seal the joints | A new slab on the same washed-out base can settle the same way |
Replacement timing is typical; a contractor's schedule and the weather can stretch it. New-concrete cure times from Concrete Network; foam and concrete weights from ArmorThane.
Foam vs. mudjacking vs. replacing
| Foam lifting | Mudjacking | Replace | |
|---|---|---|---|
| Hole size | 5/8 inch | 1½–2 inches | No holes, all new |
| Weight under the slab | About 2–5 lb per cu ft | About 100–150 lb per cu ft | New concrete: about 145 lb per cu ft |
| Ready to use | Same day | 24–48 hours before vehicles | About 7 days before vehicles |
| Washes out? | No | Can erode over time | Not applicable |
| Green Bay cost | $4–$10 per sq ft on average (our price) | We don't mudjack | About $9–$20 per sq ft for a driveway, tear-out included |
| National cost | About $5–25 per sq ft | About $3–6 per sq ft | About $13–26 per sq ft (sidewalk) |
What it costs
Leveling is priced by the foam the job takes: how far the slab has sunk, the void under it, and the size of the slab. On average that comes to $4–$10 per square foot, with a $300 job minimum that covers setup and travel. A single panel or AC pad runs $300–$600, a garage apron or one driveway section $400–$1,000, and two or three driveway sections $800–$3,000. Big jobs cost less per section than small ones. Our full price sheet is on concrete leveling cost in Green Bay, and the concrete leveling cost calculator shows a range for your job in about 30 seconds.
Pick the job that looks like yours.
We price by the foam the job takes, $4–$10 per sq ft on average with a $300 minimum. Add the size and how far it dropped for a closer number; your photos make it a firm price.
Pick a job or enter a size and the range appears here.
What moves it: how far it dropped, how many sections, what the slab is sitting on, and how close we can park. The cost guide explains each.
Get the firm number
Leave your name and mobile. We text you within 24 hours, and three photos make it a firm price, no site visit for most jobs.
Before and after
Pick a surface and drag the slider. These are illustrations of the jobs we do most; photos from local jobs go up as we finish them.
On real concrete
The same thing in photos: slabs that had sunk, and the same slabs after a foam lift. Where there's a tape in the picture, it's standing on the slab.


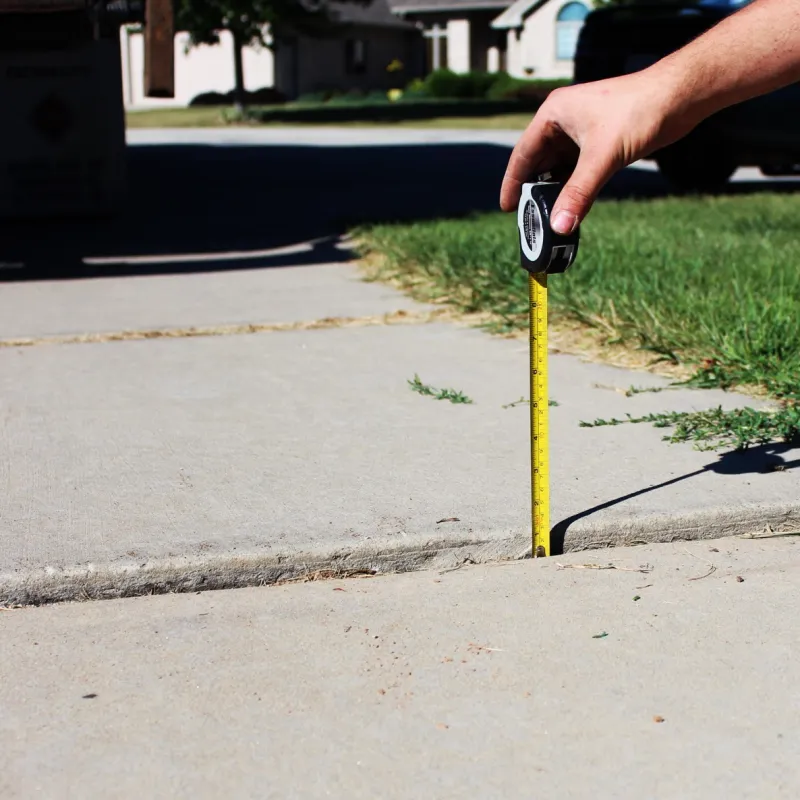
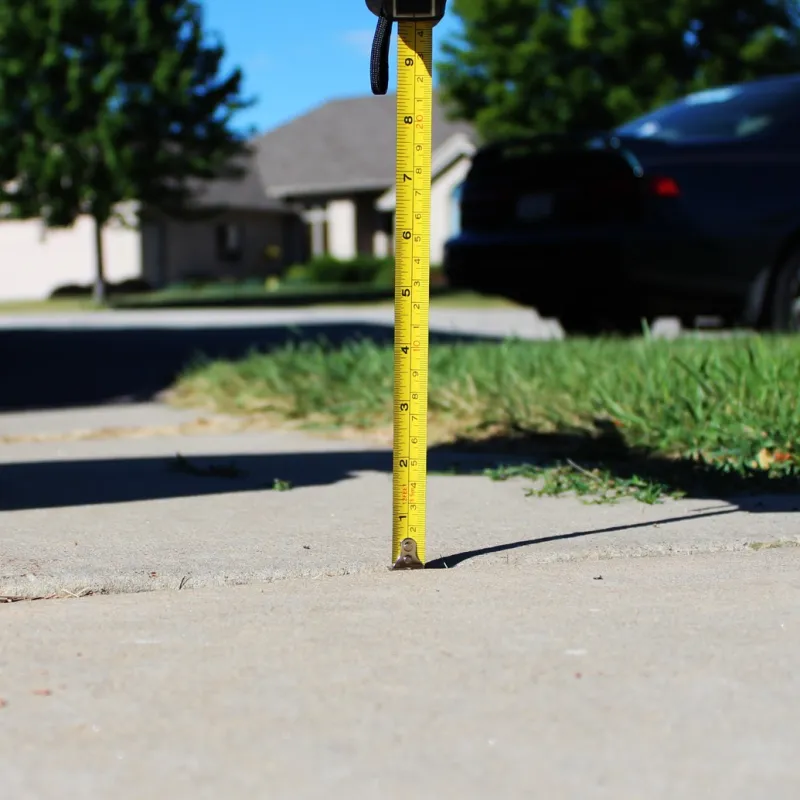


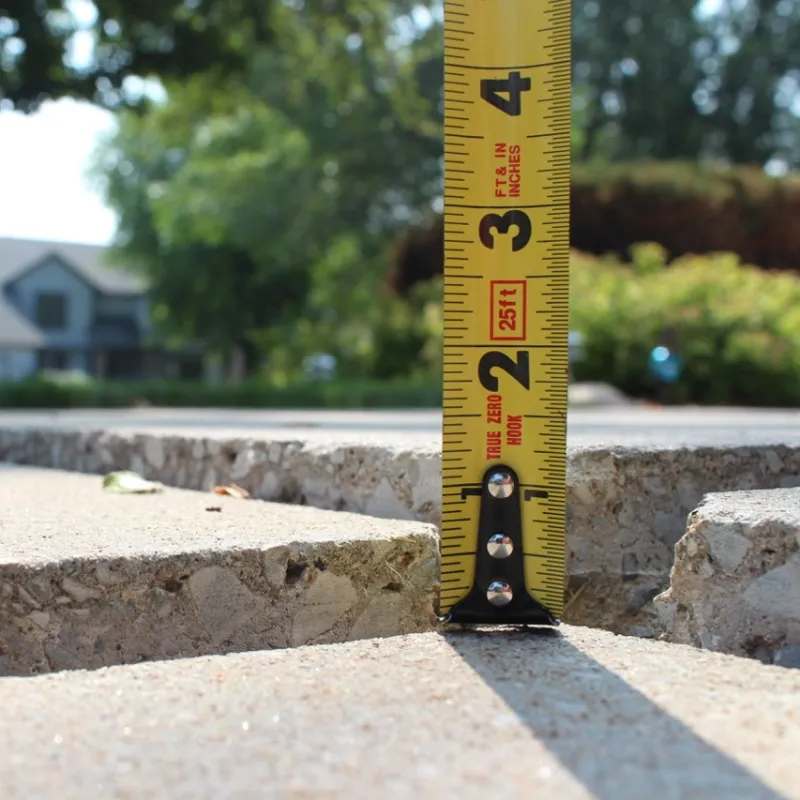
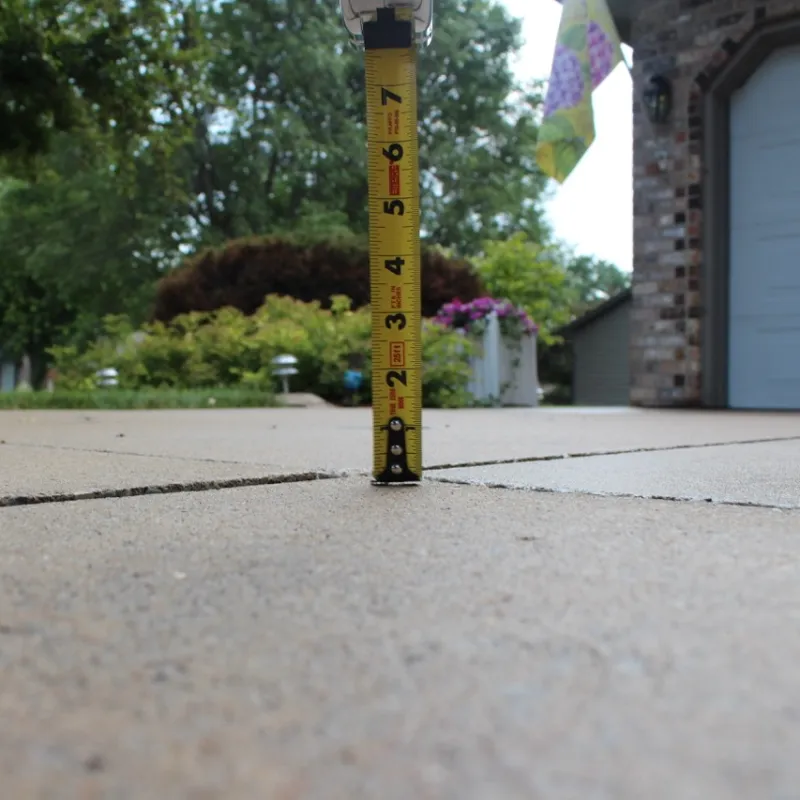
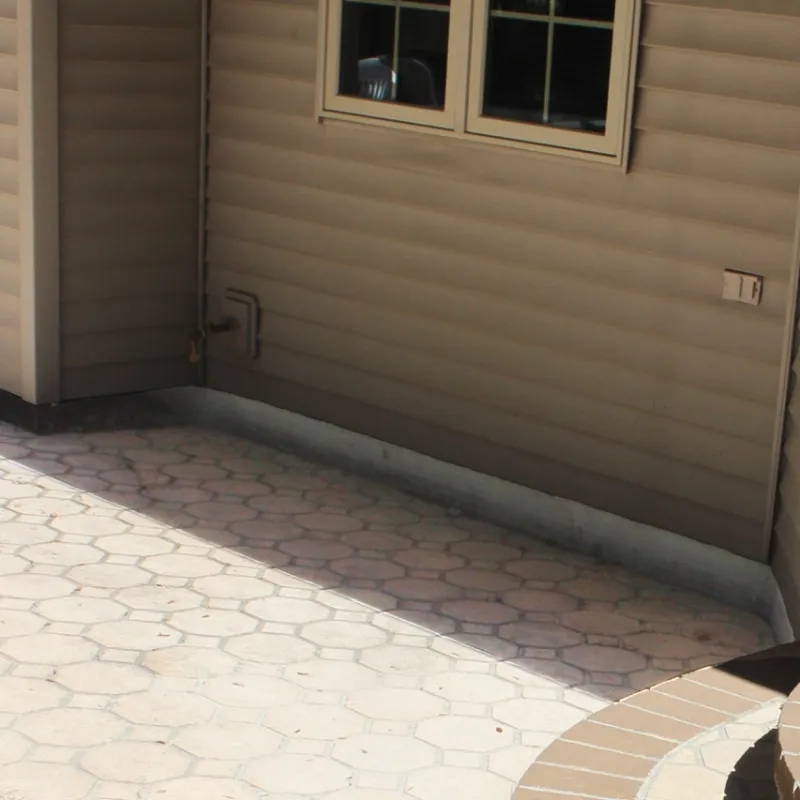
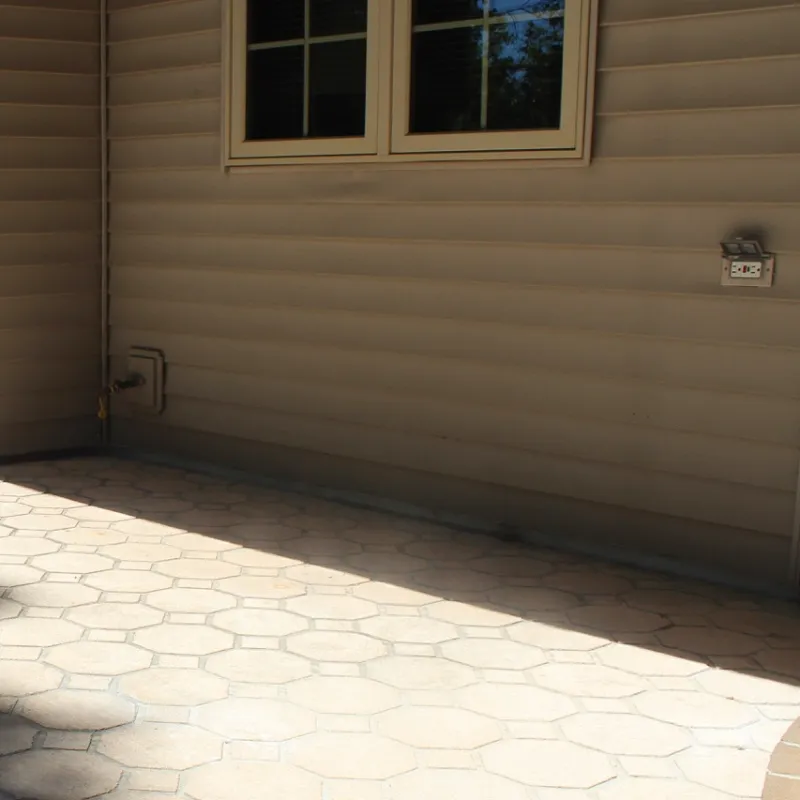
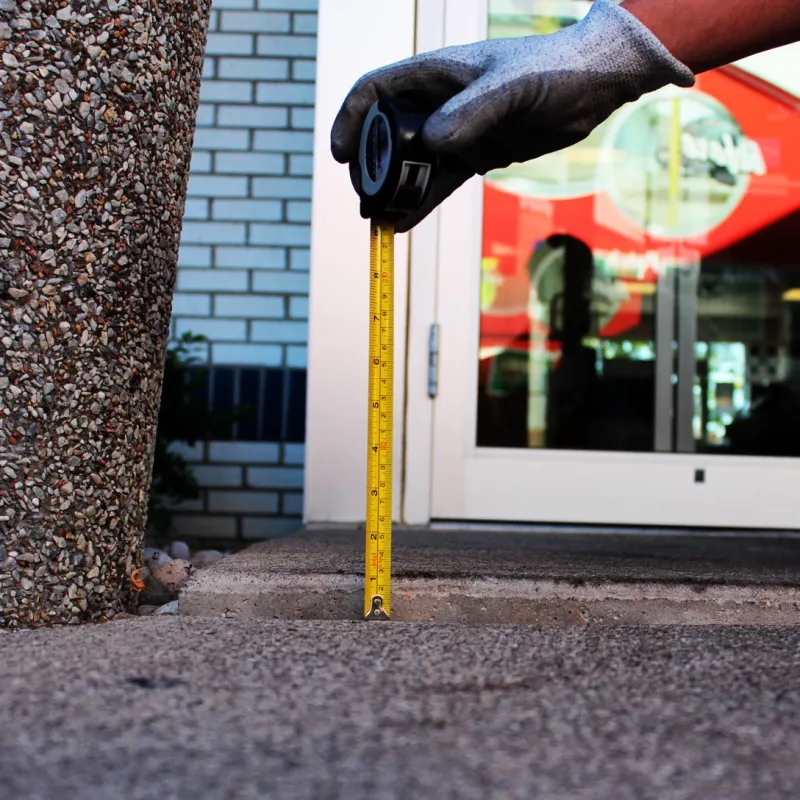
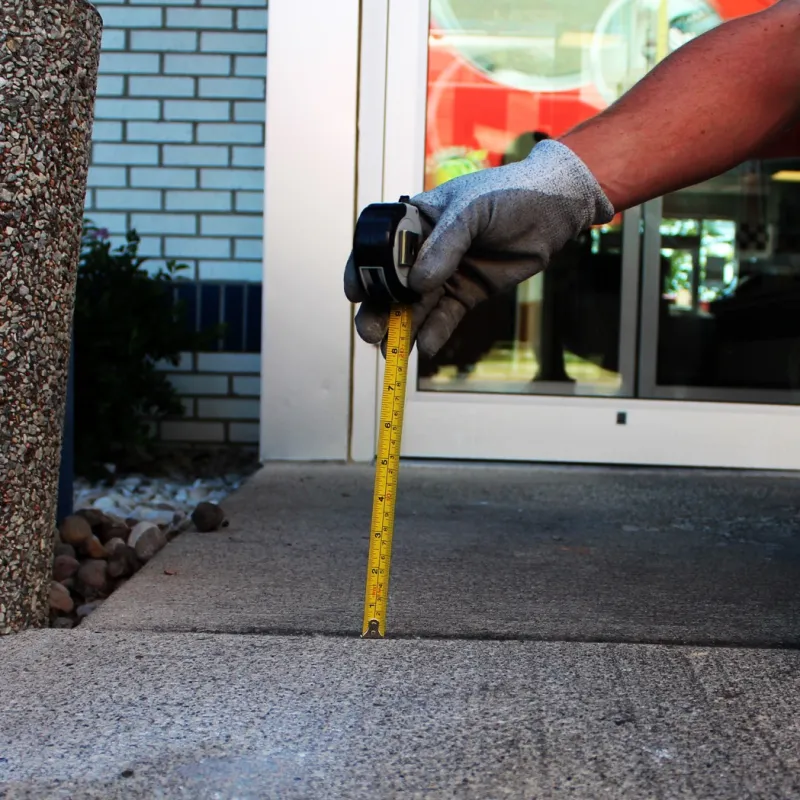
Example lifts. Photos from our own local jobs get added as we finish them.
Leveling, lifting, raising, polyjacking: one service
People search for this a dozen ways: concrete leveling, concrete lifting, concrete raising, slab jacking, concrete jacking, polyjacking, foam jacking (some folks call it cement lifting). They all mean the same thing: raising an existing slab back into position instead of tearing it out. The older version of the same idea is mudjacking, which pumps a heavy cement slurry under the slab. We use polyurethane foam. If you searched for mudjacking in Green Bay, that page covers how mudjacking works, when it's a fair choice and what we do instead.
Foam lifting by the numbers
Why concrete sinks
The concrete is rarely the problem. The soil underneath is. In Northeast Wisconsin three things do most of the damage:
Read the full explanation in why concrete sinks in Northeast Wisconsin.
How we lift it, step by step
Foam goes in as a liquid through a hole the size of a dime. Under the slab it expands, fills the empty space first, and only then starts pushing the slab up. Here's what happens at each step:
3D renders with the ground cut away, simplified to fewer holes than a real job. Most residential jobs take a few hours, and you can walk on the slab when we pack up.
What to expect on the day, and how to get ready, is in how foam concrete lifting works. Here's how a job runs from your first photo on:
Hiring someone to work on your house is easier when you know what's coming. Who shows up, how long they're there, what it looks like when they leave, and whether you need to take the day off.
We don't have a fancy name for how we lift concrete. It's just the way we do it, and it's the same on a single sidewalk square as it is on a whole driveway.
Here's every step, start to finish.
The Process at a Glance
| Step | What happens | What you do |
|---|---|---|
| 1. Photos | You send a few pictures of the sunken concrete | Snap 3–5 photos on your phone |
| 2. Quote | We review them and send you a quote | Read it, ask questions, say yes or no |
| 3. Scheduling | We set a date | Clear the slab and tell us what's underneath |
| 4. Lifting day | We assess, drill, lift, patch, and clean up | Not much. Watch if you like |
| 5. After | The slab is ready to use | Fix the water source so it stays put |
Step 1: Send Photos
This is the part that saves everybody time. No appointment window, no salesperson at your kitchen table.
Grab your phone and take:
- A wide shot of the whole area, so we can see how the slab sits next to the house, the lawn, and the slabs around it.
- A close-up of the worst edge with a tape measure standing up next to it, so we can read how far it dropped.
- Your downspouts and sump discharge if any of them empty near the slab. Odds are one of them is part of the story.
- Anything sitting on or touching the slab, like an AC unit, a gas meter, steps, or a post.
- Big cracks or broken corners, up close.
Send them through the quote page with a sentence or two about what's bugging you. "It catches the snowblower" or "water pools against the garage door" tells us a lot.
Step 2: We Review and Quote
We look at three things in your photos:
- 1Is this a lifting job?Sunken and in decent shape, yes. Pushed up by tree roots, crumbling, or broken into lots of pieces, probably not. Pushed up by frost is fine to send in: we look at lifting the slabs around it to meet it. If it isn't, we'll tell you what kind of fix it probably needs, even though that means you don't hire us.
- 2What sank it?Usually something you can see: a downspout, a washout along the edge, a low spot that holds water.
- 3What will it take?How many slabs, how big, how far they need to come up, and anything that complicates things, like a slab tucked under siding.
- 4What was built to the sunken slab?Anything added or repaired after the concrete sank was probably fitted to the low height. That's the next section.
Then you get a quote with the price and what's included. If something isn't clear from the photos, we'll ask for one more picture or a measurement rather than guess. No pressure, no follow-up calls every other day. If the timing's not right, it's not right.
The walk-around: what was built to the sunken slab
Concrete usually sinks slowly, over years. In that time a lot of homeowners replace or repair things around it: new siding, a porch roof, a deck, steps, a railing. Whoever did that work fitted it to the concrete as it sat that day, which was already low.
Lift the slab back to where it started and it can push up into whatever was built down to it. So before any lift we do a full walk-around of the slab and everything touching it or sitting on it, looking for:
- Siding and trim that was run down to the sunken slab.
- A porch roof or its posts resting on a stoop or slab that has dropped.
- A deck, steps or a railing built against or on top of the low concrete.
- Precast steps. We don't drill through precast steps. The slab under them is what gets lifted, so the company that installed them moves them off for a short time, we do the lift, and they set them back.
- Anything else added since it sank that now depends on the slab staying where it is.
If we find something, we tell you before any foam goes in, and we tell you exactly what height the slab is being raised to. A railing fastened to the house is taken loose from the house before the lift. Where siding was replaced after the slab sank, the slab may not be able to come all the way back up to its original pitch away from the house, and we'll say so up front.
On the day, we lift slowly and move around the slab as needed, watching everything it touches. We never make new cuts in your concrete. We only cut along existing joints, and only when the slab needs it to move freely.
If your photos show something built against the slab, we'll come out and do the walk-around before we quote.
Step 3: Pick a Day and Get Ready
Once you say yes, we set a date. A few things help the day go smoothly:
- Move cars, grills, planters, and furniture off the slabs we're lifting.
- Tell us what's under or next to the slab. Buried downspout pipes, sump discharge lines, drain tile outlets, sprinkler lines, pet fence wire, landscape lighting. We don't want to drill into any of it, and foam travels into open pipes and gaps, so we want to know where they are.
- Let us know about any recent work near the slab, like a new patio door, a repaired water line, or a sump pump that was just moved.
- You don't have to be home for the whole job, but it's nice if you're around at the start so we can walk the slabs together and agree on the finished height.
Weather matters in Green Bay. Frozen ground can make a slab sit higher than it will in summer, so we schedule lifts around what the soil is doing.
Step 4: Lifting Day
We look before we drill
First we do the full walk-around in person. We look at everything touching the slab or sitting on it, so nothing that was built to the sunken height gets damaged as the concrete comes up. We check the height differences, tap for hollow spots, look at the joints where the slab meets the house, the garage floor, and its neighbors, and find where the water is coming from. We also confirm what "done" means for your slab. A walk might need to be flush with the next square. A garage apron needs to meet the garage floor and still drain away from the door. A patio needs to pitch away from the house.
We free up the joints
Dirt, gravel, and old caulk packed into a joint can lock a slab to its neighbor. We clean out joints and gaps where the slab needs to move, so it rises freely instead of dragging something with it. If a joint has to be cut to free the slab, we cut along that existing joint only. We don't make new cuts in your concrete.
We plan the hole pattern
Holes go where the support is missing and where the slab needs to move the most. A small sidewalk square might need just a few holes. A big driveway slab needs more. We mark them all before drilling, so the plan is set before the first hole goes in.
We drill
Each hole is 5/8", about the size of a dime. The drill makes some noise and dust for a few minutes, and that's the loudest part of the day.
We inject a little at a time
High-density structural foam goes in through one hole at a time. It fills the voids first, then starts lifting. We put in small amounts, move to the next hole, and come back, working the slab up gradually instead of shoving one spot up fast.
We watch the slab the whole time
Between every shot of foam, we check the slab against a level, a straightedge, and the slabs around it, and we keep an eye on the joints and existing cracks. That's the part of the job that separates a good lift from a bad one. We wrote a whole separate piece on it: Precise Concrete Leveling.
We fill the holes flush
Once the slab is where it belongs, every hole gets filled level with the surface. The patches are small, but you'll still be able to see them, especially on older, weathered concrete. A dime-sized dot is a lot easier to live with than a new slab that doesn't match the old ones.
We seal the joints (if you want)
Right after a lift is a good time to caulk the joints and cracks. The slab is clean, the joints are already cleared out, and closing them up means the next storm's runoff stays on top instead of heading for the foam. We can do it the same day. Just ask for it in your quote.
We clean up and walk it with you
We sweep up drilling dust and any foam overspray, pack up, and walk the finished slabs with you. We take photos and video before and after every job, so there's a record of how the slab sat and how it finished. Step on it, roll the trash can over it, check the drainage with a garden hose if you like.
How Long It Takes
Most residential sidewalk and walkway jobs are done in a couple of hours. A small AC pad can be under an hour. A full driveway or a garage floor with several slabs takes longer. Your quote will give you a realistic idea of how long we'll be there.
Step 5: After We Leave
- Walk on it right away. The foam sets fast, and there's no curing period to wait out.
- Drive on it the same day. We'll tell you when before we leave.
- Fix the water. This is the step that decides whether your slab stays put. Extend downspouts well away from the slab. Point the sump discharge away from the house and the concrete. Fill low spots and build the soil up so it slopes away from the foundation. For new homes, the national model building code calls for a drop of at least 6 inches within the first 10 feet, and that's a good target for any house.
- Keep joints sealed. Caulk wears out over time. If you see gaps opening up, reseal them before winter.
- Snap an "after" photo. Take it from the same spot as your "before" photo. If anything looks different next spring, you'll have something to compare it to.
What We'll Tell You Up Front
A good lift makes your slab level, safe, and drain the right way. It doesn't make old concrete look new. Existing cracks will still be there, even if both sides end up at the same height. Surface flaking from salt and freeze-thaw stays too. If your slab has any of those, we'll point them out in the quote so nothing surprises you on lifting day.
There's also no guarantee that a slab goes back to exactly where it was. A gap at the house may close most of the way and not all of it. A crack may pull back together and show less, or it may not. All of it depends on how the soil and the slab settled over the years, and we can't see that from the top.
A slab that was poured over the top of an older slab is one more case. We can lift those, but there's no guarantee on the result.
What we lift
Any poured concrete slab sitting on the ground, inside or out. The ones we see most:
Sunken sections, pooling water and cracked slabs that are still in one piece.
The step down from the garage floor to the driveway.
Trip hazards and walks that hold water.
Patios that slope water back toward the house.
Stoops that tipped or pulled away from the wall.
Porch slabs and landings that settled under the roof, posts and all.
Decks sunk on the backfill around the pool, lifted clear of the coping and plumbing.
Interior slabs that dropped at a joint or a corner.
Tipping condenser pads, shed floors, basement slabs, hot tub and generator pads.
Patterned, colored and exposed-aggregate slabs, lifted without ruining the finish.
Trip hazards at storefronts, HOAs and offices, fixed around your hours.
What we can't lift: asphalt, pavers, gravel, and concrete broken into many small pieces. Those are regraded, re-set or replaced, and we'll say so from your photos.
What it looks like when we're done
Level slabs, a few small gray patches where the holes were, and sealed joints. The patches are close to concrete color but they won't match perfectly on older, weathered slabs. Most people stop noticing them within a season. We text you before-and-after photos before we leave.
Every lift comes with a 5-year written warranty: if a slab we lifted settles again, we come back and re-lift it at no charge, as long as the joints stay sealed and the downspouts drain away from the concrete. The terms are on your quote before you approve it. See the warranty page for how it works.
Why a small, owner-run company
- The owner prices it and lifts it. The person who reads your photos is the person on the hose. Nothing gets lost between a salesperson and a crew.
- A firm price for the job, in writing, before we start. It's built from the foam your job should take. If we ever find a much bigger void under the slab than expected, we stop and talk with you before going further.
- No sales visit, no pressure. Three phone photos price almost every job, and you get the number by text. Nobody sits at your kitchen table.
- Every number on this site has a source. Hole size, foam weight, set time, costs: if it isn't ours, it's cited at the bottom of the page.
- We'll tell you when not to hire us. If a slab should be replaced, or ground, or left alone, we say so from the photos.
Sources
- Alchemy-Spetec AP Lift 435 technical data sheet (lifting foam)
- Prime Resins Precision Lift 475 technical data sheet (lifting foam)
- City of Columbus supplemental specification 1521: polyurethane slab raising
- HD Foundation Repair: mudjacking vs. polyurethane foam
- HomeAdvisor: concrete leveling and mudjacking cost (updated June 2026)