
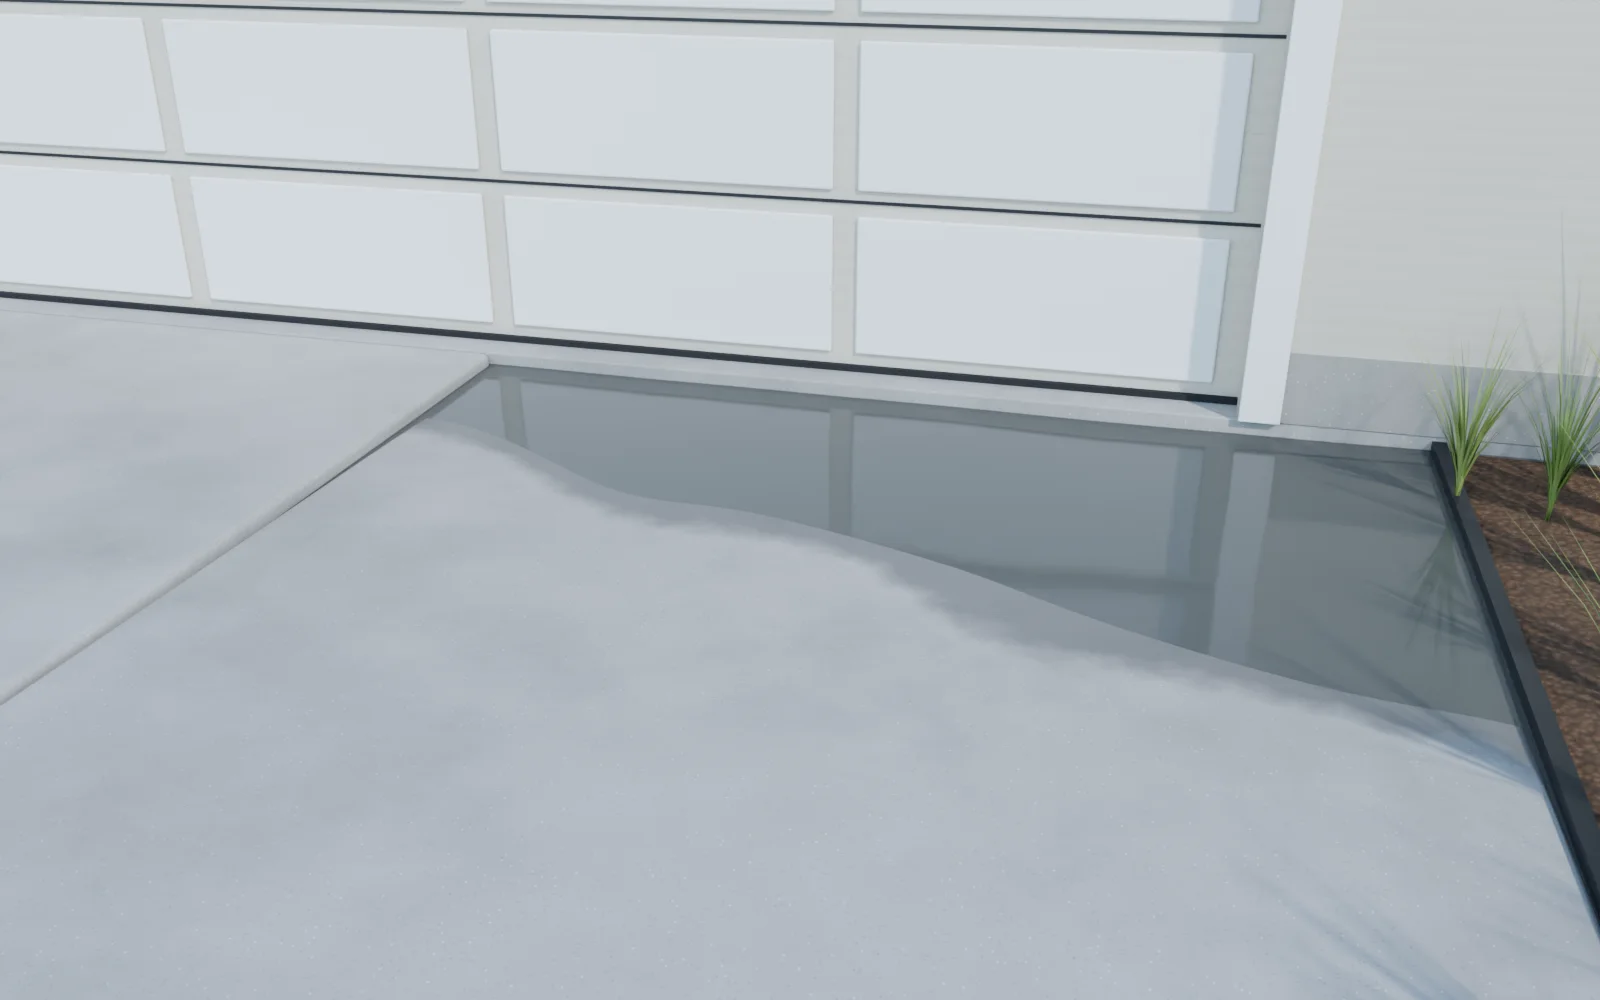
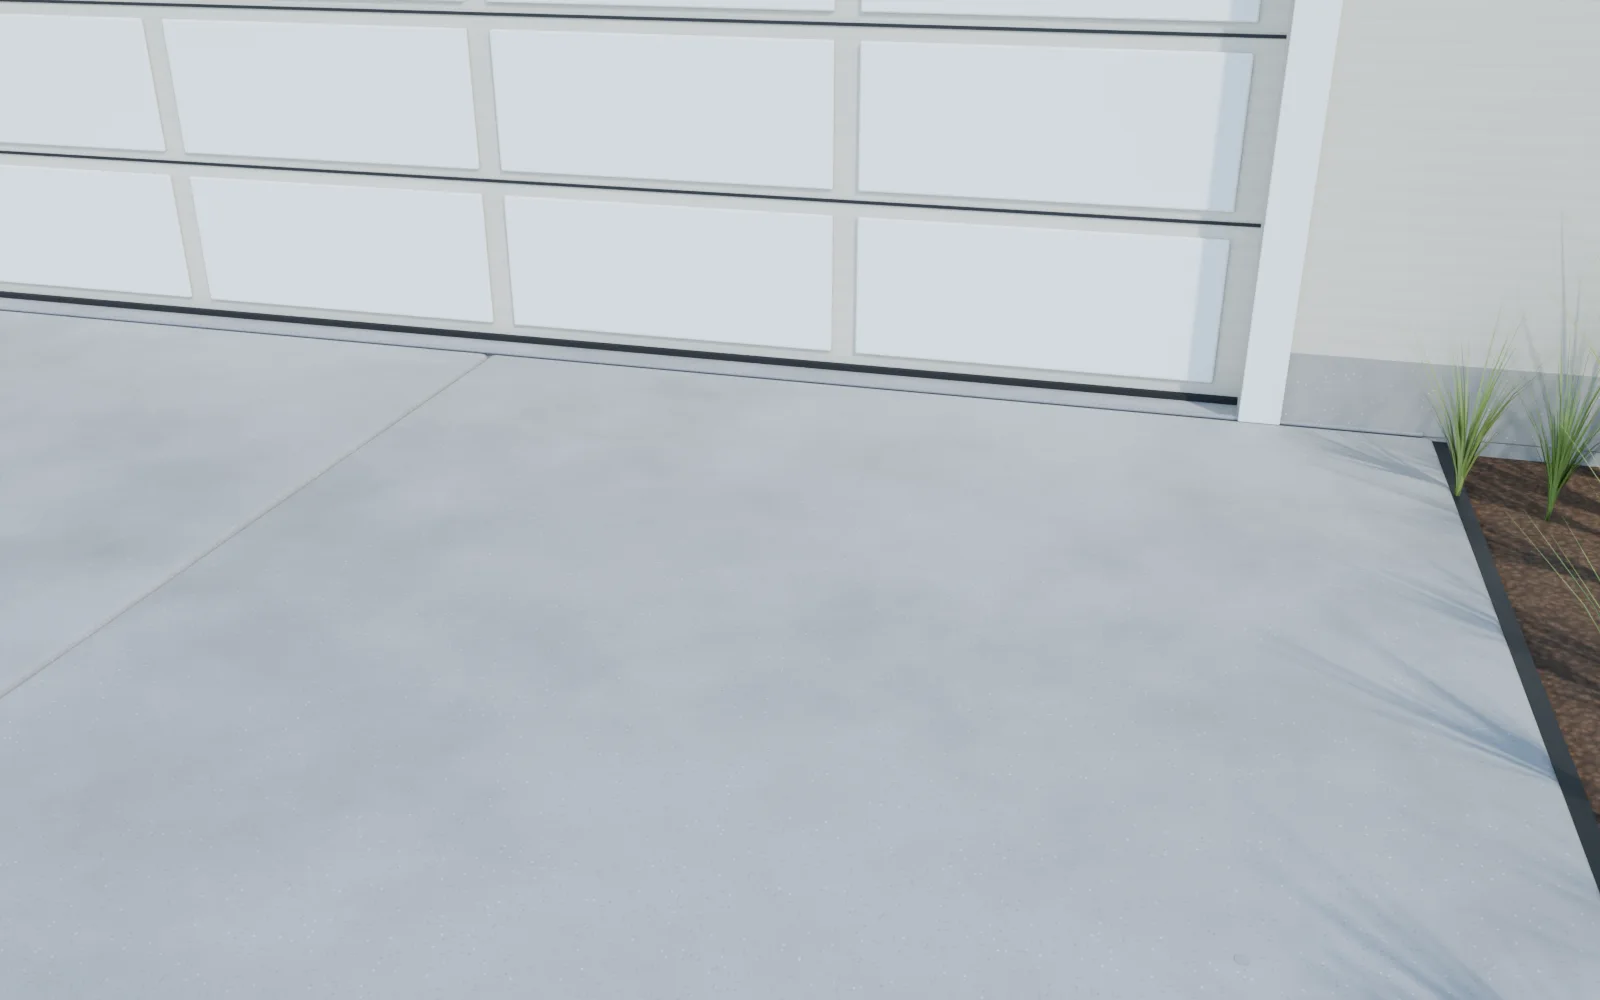
Driveway lifts, before and after
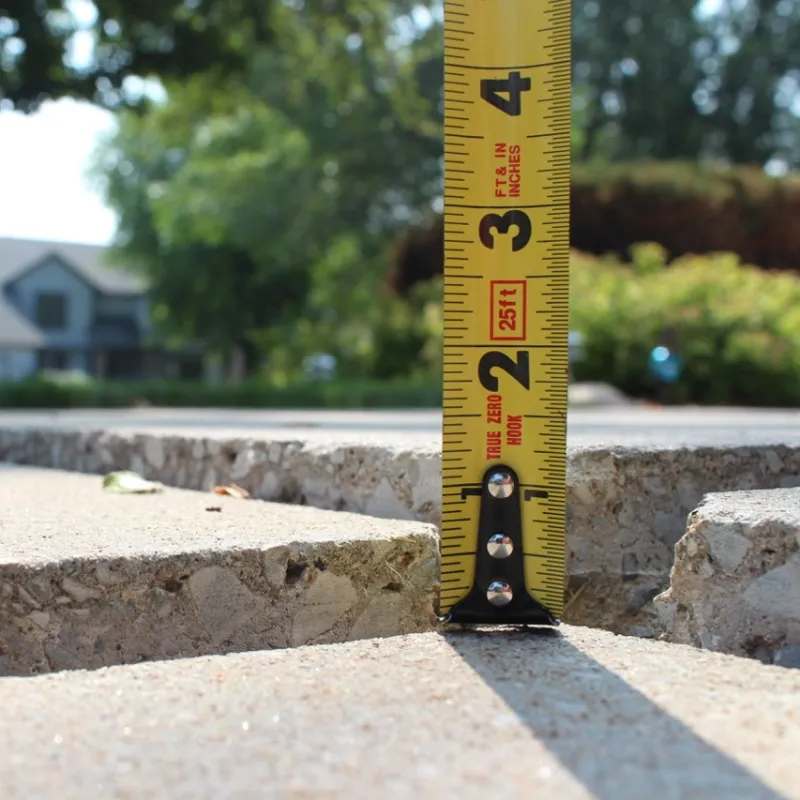
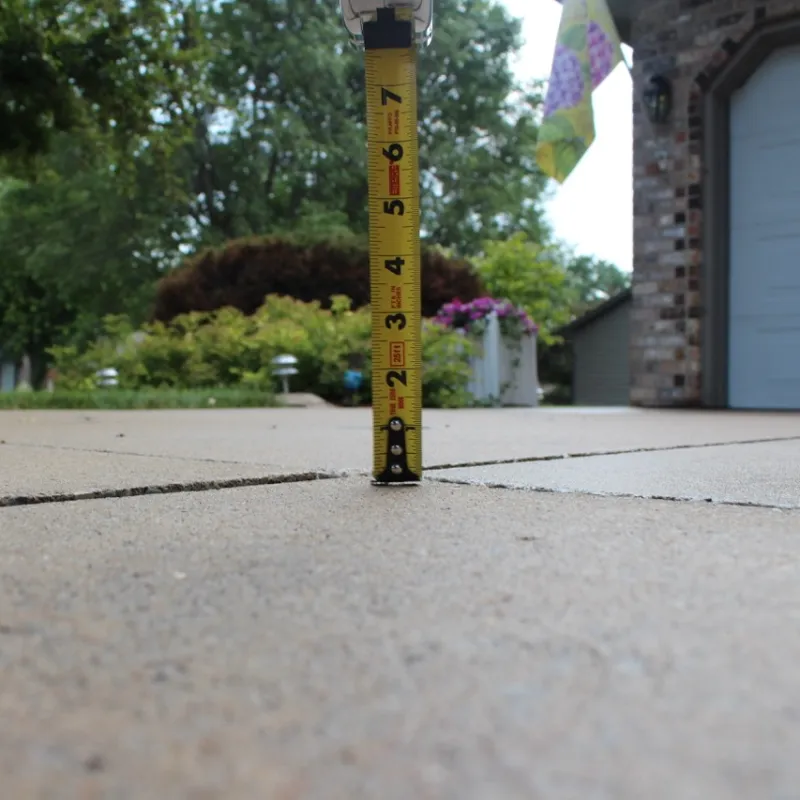
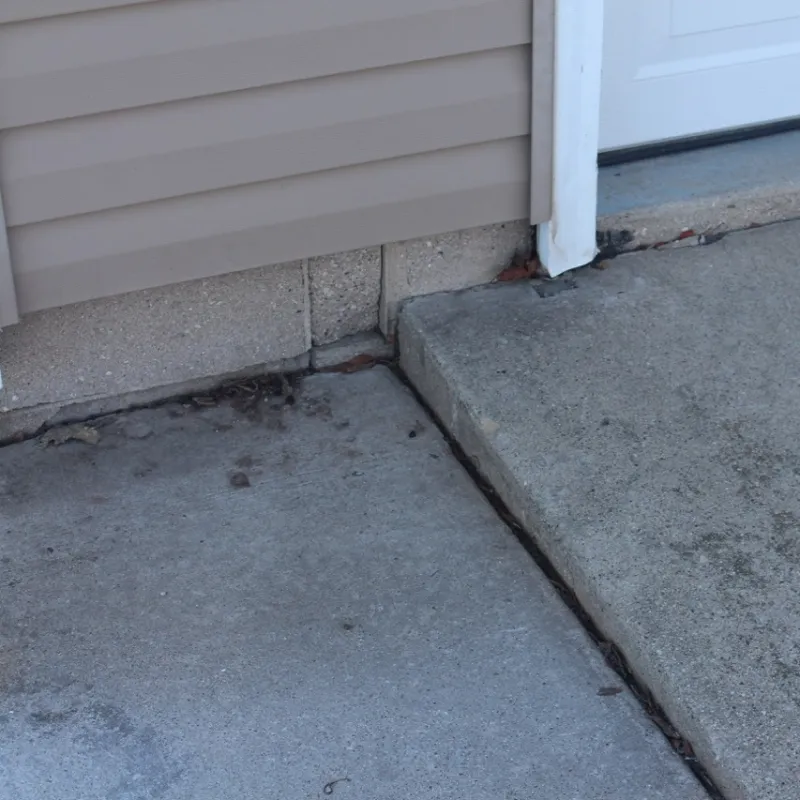
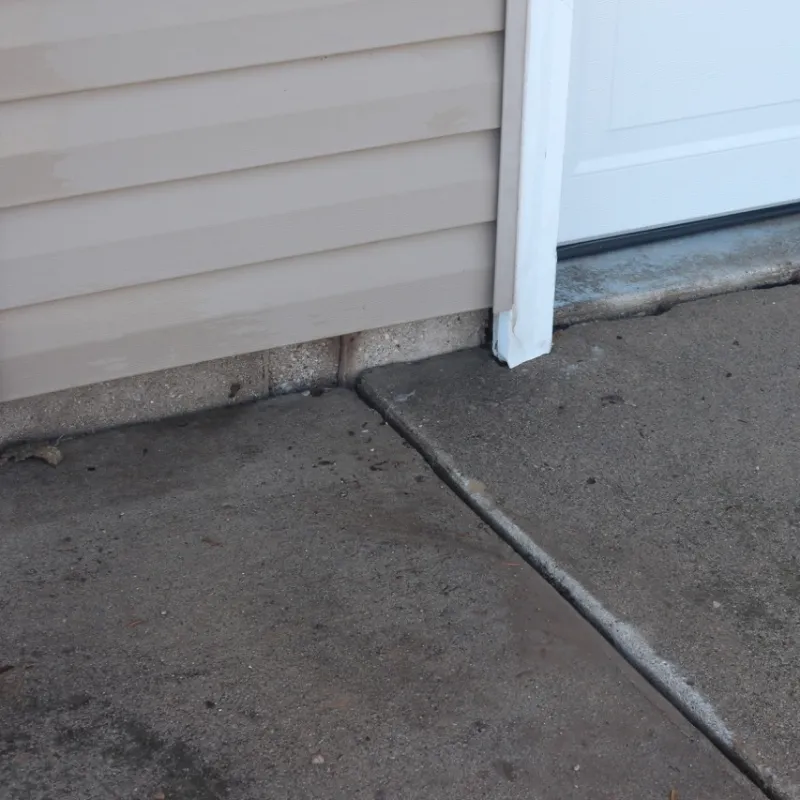
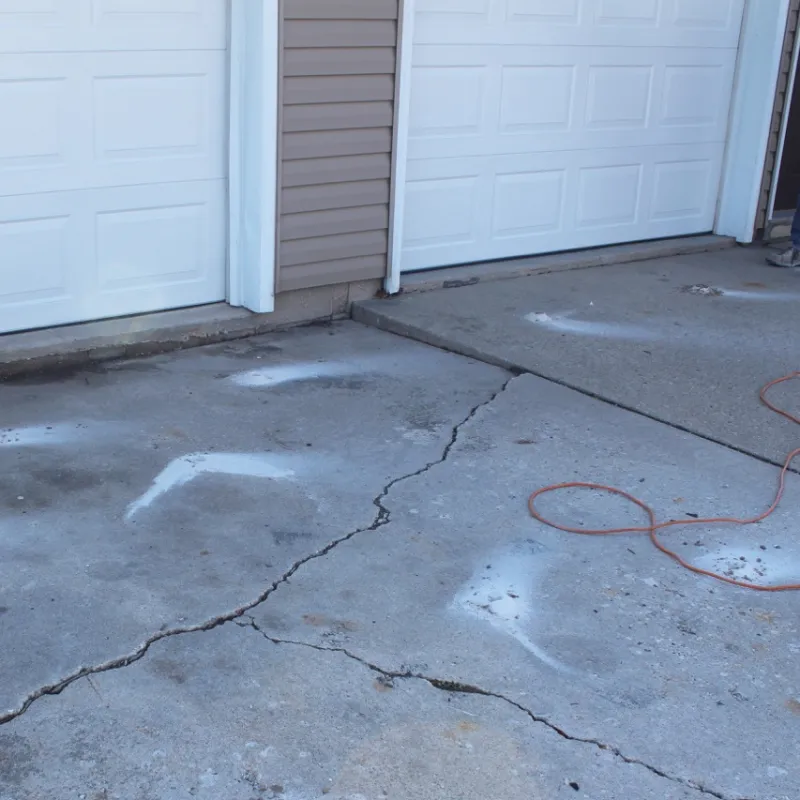
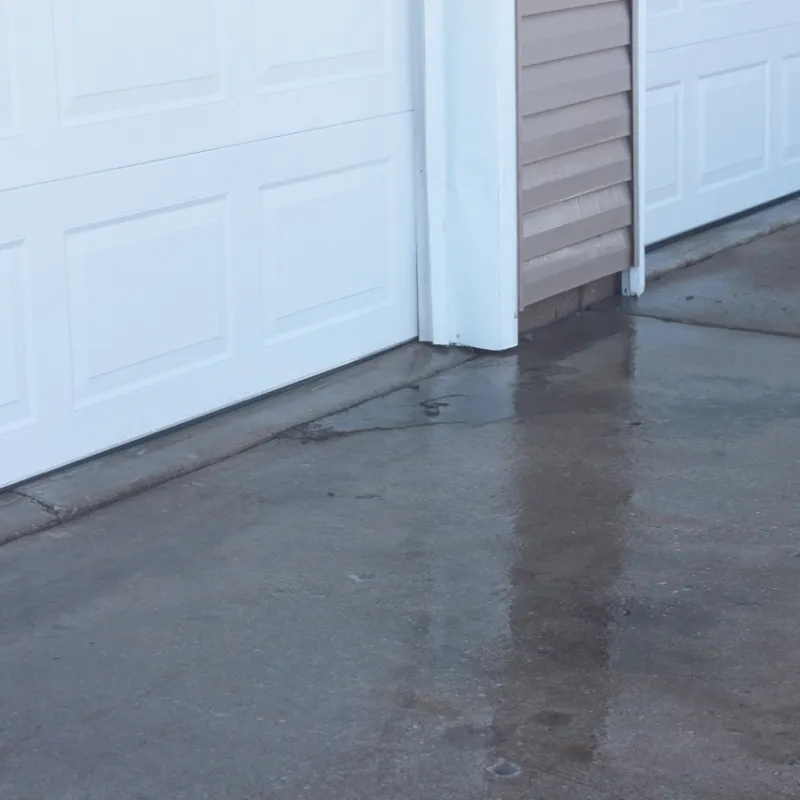


Example lifts. Photos from our own local jobs get added as we finish them.
Driveway lifting at a glance
Signs your driveway needs lifting
- Water sits on one section after rain, or runs back toward the garage.
- A step or lip has opened up at the garage, a joint or the sidewalk.
- One section rocks or sounds hollow when you drive over it.
- Your tires dip or scrape at a lip, or the car bottoms out pulling into the garage.
- A joint catches your toe walking to the car, or a snowblower in the winter.
- Joints between slabs have widened and filled with weeds or dirt.
How to check a sunken driveway yourself
A tape measure, a straight board and ten minutes show most of what we look for in your photos.
- 1Measure the drop at the garageLay a straight board on the garage floor so it reaches out over the first driveway section. Measure from the underside of the board down to the concrete.
- 2Run a string down a long driveSet a brick on two sections that haven't moved, pull a string tight between them, and measure down to the sections in between. The biggest number is how far the low one has to rise.
- 3Watch each joint under a tireHave someone drive slowly over the joints while you watch the slab edges. An edge that dips or clunks has empty space under it.
- 4Follow the waterRun a hose near the garage door for a minute, or look during a rain. Water should head for the street. Water that sits, runs back to the door or disappears into a joint marks the low section.
- 5Look at the cornersA crack that cuts off a corner often sits right over a void, where the unsupported concrete broke under a wheel.
Measure once the frost is out. Frost pushes slabs up unevenly over the winter, so a lip you measure in March can look different by late May. A step that's still there in summer is settling. More in frost heave vs. settling.
Why driveways sink
Driveways settle where water gets underneath them: along the garage, at downspouts, and at joints that were never sealed. The section closest to the garage often sits on backfill from the foundation dig and drops first. That one has its own page: garage apron repair.
Where the driveway dropped tells you why
| Where it dropped | Most likely cause | What to do first |
|---|---|---|
| Against the garage | Foundation backfill settling, plus roof water and meltwater at the door joint | Lift the apron and seal the joint at the door |
| A straight strip pointed at the street | Backfill settling in the trench over a water or sewer line | Tell us about any utility work. If drains are slow, have a plumber camera the line before a lift |
| A corner beside a downspout | Washout: roof water carrying fine soil out from under the edge | Extend the downspout, then lift |
| The street end | Backfill from street or curb work, and melting plow piles | The stretch between the public sidewalk and the curb is usually right-of-way, so check your city's rules first |
| Most of a newer slab, evenly | A gravel base that was never compacted | Call the installer first. It may be covered |
A void matters more under a driveway than under a walk, because cars cross it. A slab bridging empty space bends a little under every tire, and concrete is weak in bending. That's how a section that only sank ends up cracked into pieces, and a slab in many pieces is a replacement, not a lift. Lifting it while it's still whole keeps that off the table.
How we lift a driveway, step by step
Here's the whole job under the slab. The driveway is cut open so you can watch the foam go in as a liquid, expand to fill the empty space, pack the loose soil, and lift the section to the line. It's the job people call driveway mudjacking, done with foam instead of heavy slurry.
3D render, not a job video. It shows a driveway slab that sank at the garage door. The ground is cut away so you can see under the slab; nothing is dug on a real job. Simplified to four ports; a real 10 by 10 foot section usually gets six to ten. The foam's weight, strength and set time, with sources, are in how foam lifting works.
Transcript: what the video shows (23 seconds, no sound)
- 1. Set the line. A laser line off the slab that didn't move shows how far the low one has to come up. This one sank about 2″, a little more at the corner.On screen: About 2″ low; Laser line = target; Empty space under the slab.
- 2. Drill and set the ports. 5/8″ holes, kept in from the edges, then a plastic injection port tapped into each one so the gun can lock on.On screen: Injection ports.
- 3. Pump the foam. Two liquids travel down separate hoses and mix in the gun. They go in through the first port and run to the lowest spots.On screen: Liquid runs to the low spots.
- 4. Expand and fill. Within seconds the mix expands 15 to 22 times its liquid volume and fills most of the space from that port. The next port fills the rest, pressing loose soil tight.On screen: Expands from the first port; Second port fills the rest.
- 5. Lift to the line. Once the space is full, short shots, port to port, raise the slab evenly. We stop when it meets the line.On screen: Short shots, port to port; Back on the line.
- 6. Patch and caulk. The ports come out, each hole is packed with grout and troweled flush, and the joint at the garage gets a bead of flexible sealant.On screen: Garage joint caulked.
3D renders with the ground cut away, simplified to fewer holes than a real job. Most residential jobs take a few hours, and you can walk on the slab when we pack up.
The last step matters most. Open joints are how the water got under the slab in the first place, so every lift ends with joint sealing.
Why lift a driveway instead of replacing it?
A sinking driveway doesn't have to mean a new one. A new driveway section means jackhammers, a dump truck, new forms and about a week of parking on the street while it cures. Lifting is one visit, and you park on it that evening.
Replacement timing is typical; a contractor's schedule and the weather can stretch it. New-concrete cure times from Concrete Network.
What driveway leveling costs in Green Bay
Lifting is usually the least expensive concrete driveway repair that actually fixes a low section. Pricing depends on how many sections are low and how far. A typical driveway job is two to six sections. See the leveling cost guide.
- How many sections. One sunken section of about 100 square feet runs $400–$1,000; two or three run $800–$3,000. Travel and setup are the same either way, so each added section costs less.
- The void underneath. A section over a washout takes more foam than one that simply settled. A photo of any gap you can see under the slab edge helps us price it right the first time.
- How far it has to rise. Half an inch at the garage sits at the low end of the range. Two inches at a washed-out corner sits near the top.
- Joints and cracks to seal. Sealing is priced by the foot, $5–$10, on its own line of the quote.
The full list is in what changes the price of a concrete lift.
Pick the job that looks like yours.
We price by the foam the job takes, $4–$10 per sq ft on average with a $300 minimum. Add the size and how far it dropped for a closer number; your photos make it a firm price.
Pick a job or enter a size and the range appears here.
What moves it: how far it dropped, how many sections, what the slab is sitting on, and how close we can park. The cost guide explains each.
Get the firm number
Leave your name and mobile. We text you within 24 hours, and three photos make it a firm price, no site visit for most jobs.
When a driveway should be replaced instead
If the surface is crumbling, the slab has broken into many small pieces, or a tree root has pushed sections up, lifting isn't the right fix. We'll say so from the photos. Our lift or replace guide walks through it.
- Four or more pieces. Each piece tips its own way and every crack lets foam escape. One clean crack, or two or three large pieces with sharp crack edges, usually still lifts.
- A surface flaked deep. Flaking rides along with the slab, so a lift makes it no better and no worse. If stones stand out across most of a section, you'd be paying to lift concrete you'll soon replace.
- Pushed up, not sunk. Foam only raises concrete. A section a root shoved up is ground, blended into its neighbors or replaced.
- Rust stains, or a web of fine cracks along the joints. The concrete is failing from the inside, and leveling it doesn't stop that.
Most driveways aren't all one or the other. Joints divide a driveway into separate slabs, so a concrete contractor can replace the one that's shattered while we lift the ones that only sank, and replacement money goes only where it's needed. How to tell when concrete is too damaged to lift has the full scale and the photos that settle it.
After a driveway lift: what you'll see and how to keep it level
Level driveway sections, sealed joints, and a few dime-sized gray patches where the foam went in. The patches are close to concrete color and fade into older slabs within a season. We text you before-and-after photos before we leave.
Keeping it level means keeping water out from under it. Three things do most of the work: keep the joints and cracks sealed, backfill soil against any slab edge the lift left exposed, and keep downspouts discharging away from the concrete. Sealing is its own line on your quote; the rest is in what to do after your concrete is lifted.
- Seal the joints and cracks. Every open joint is a funnel for snowmelt. Joint caulking runs $5–$10 per foot and is usually added right after the lift.
- Keep heavy loads off slab edges during the thaw. For a few weeks each spring the ground under a slab is at its softest, and a loaded trailer or a dumpster on an edge can press it down.
- Move the roof water. A downspout that lets out beside the driveway keeps washing soil from under that corner. Extend it onto ground that slopes away.
- Clean and seal the surface if salt is wearing it. A penetrating concrete sealer goes on once the caulk has cured, and cleaning booked with a lift is $50 off.